No products in the cart.
Blog
How To Draw A Hoodie On A Person – The Art Of Fashion: Drawing Hoodies On Figures Made Easy
It’s no secret that I have a deep passion for drawing people, particularly women. The process of drawing individuals is immensely enjoyable. However, when it comes to sketching clothing, it can pose a unique set of challenges due to its dynamic nature.
In this post, I will guide you through the step-by-step process of drawing a hoodie on a person. This tutorial aims to simplify the art of drawing clothes on individuals, making it accessible whether you’re a child or an adult beginner looking to enhance your drawing skills.
By following these straightforward steps closely, you’ll find it effortless to grasp the technique. I’ll provide multiple approaches to teach you how to draw a hoodie on a person.
How To Draw A Hoodie: A Step-By-Step Guideline
How to Draw a Long-sleeve Hoodie
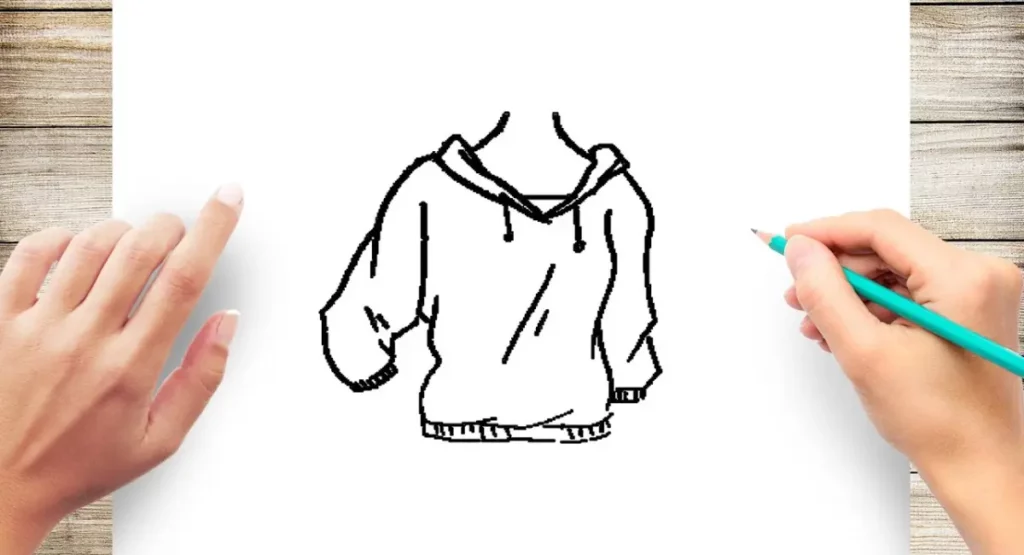
A hoodie, a sweatshirt with a hood, can be drawn quickly and easily. Let’s start by drawing a simple hoodie, excluding anyone wearing it. This initial step will help us understand how to draw a hoodie without worrying about wrinkles.
To begin, sketch two lines to outline the edges of the hoodie. These lines should have a slight inward curve towards the bottom, creating the basic shape.
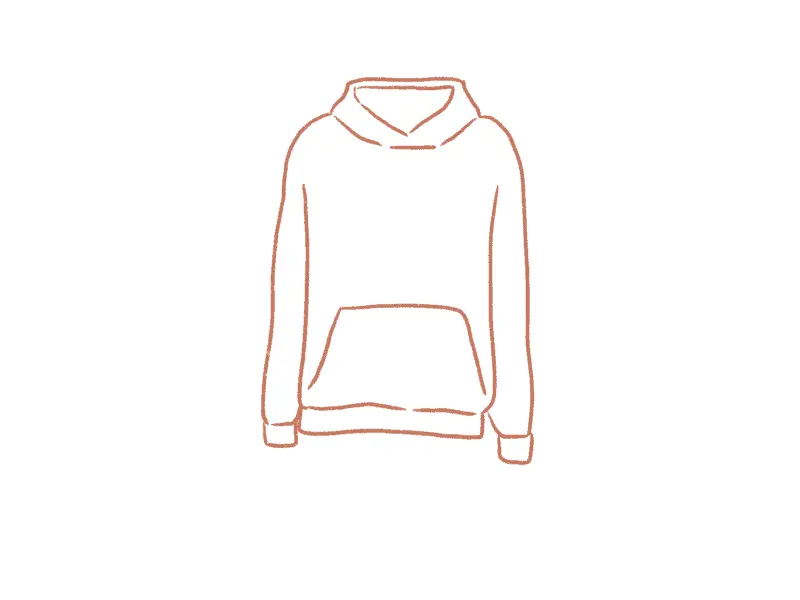
I’ll teach you to draw this hoodie in a cartoon style, simplifying the process. If you want to learn more about drawing clothes, you can explore further in our book.
Now, let’s add the sleeves. Draw two additional lines parallel to the previous ones, forming the shoulders and long sleeves of the hoodie.
Next, create the hoodie’s pocket, resembling an inverted plateau shape.
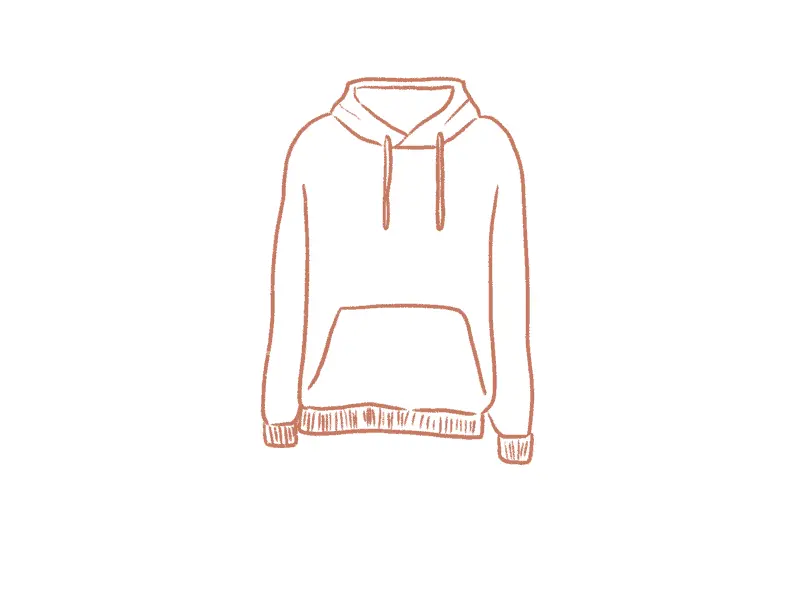
Proceed to draw the sleeve ends and the lower edge of the hoodie by completing the shapes, keeping them plain and straightforward.
Now, draw the hoodie’s neck, which can be as simple as a “V” shape. Remember, focus on simple shapes to simplify the overall drawing.
Leave small gaps between the lines to enhance the realism and add a touch of rustic charm.
Moving on to the hood, draw a basic plateau shape at the top of the hoodie.
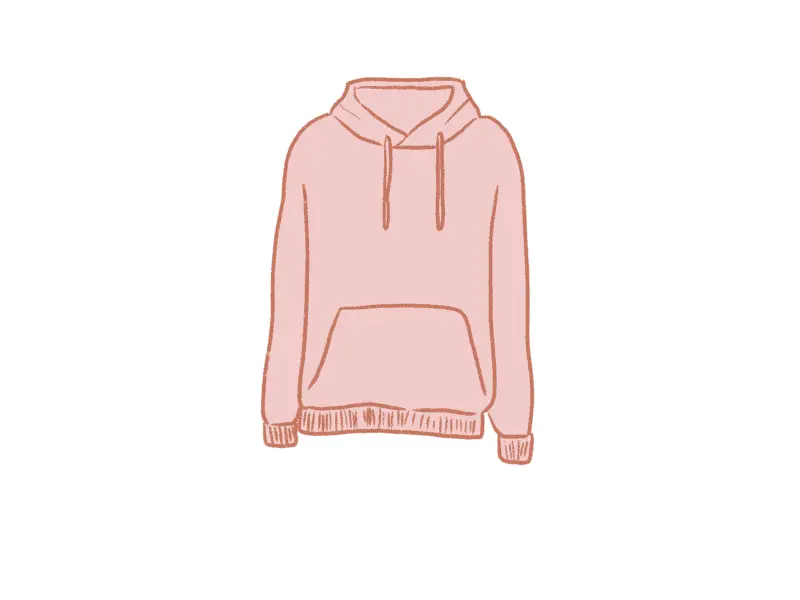
Complete the hood by drawing the neck hole.
Finish the hoodie by adding two simple drawstrings and incorporating some folds at the ends of the hoodie. This adds a polished and finished look to our drawing.
You can choose any color for the hoodie with the complete basic outline. For instance, I’m opting for a lovely pastel pink shade to give our hoodie a unique touch.
How to Draw a Short-sleeve Hoodie
Step 1: Initial Shape
Start with a small rectangle to learn how to draw a hoodie on a person.
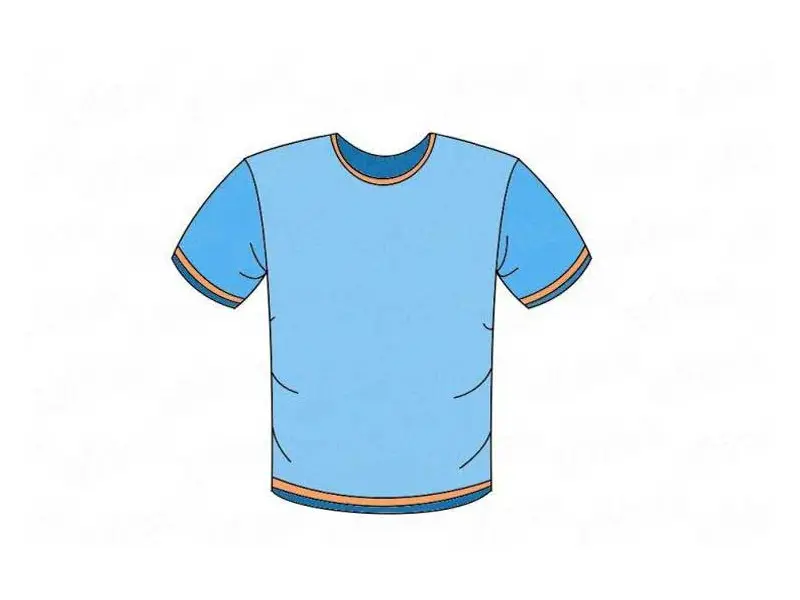
Step 2: Creating the Hood
- Draw a circle on top of the rectangle, ensuring that the horizontal line divides it in half.
- Erase the line of the rectangle inside the circle.
- Cut out the upper part of the circle, careful not to damage the other shirt components.
Step 3: Defining Shoulders
- Extend two diagonal lines from the edges of the cut-out circle.
- Connect the lines to form the back of the cut-out.
Step 4: Shaping the T-Shirt
- From the ledges formed earlier, draw slightly curved lines that slope downwards but do not touch the sides of the square.
- Repeat this curved line on the other side.
Step 5: Refining the Outline
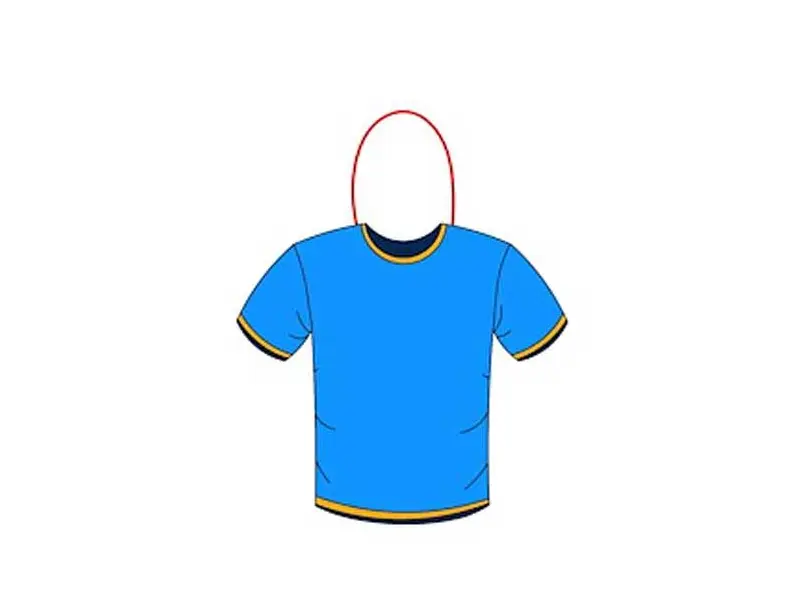
With the T-shirt’s shape in place, gently erase the square outline.
Step 6: Cleaning Up
Erase the bottom line of the rectangle.
Step 7: Creating Short Sleeves
- Draw irregular rectangles for the sleeves on the left side of the shoulders.
- Ensure that both sleeves are the same size.
Step 8: Adjusting the Bottom
Connect the edges of the garment with a slightly curved line to create the bottom hem of the T-shirt.
Step 9: Adding Lines
- Draw lines around the collar a short distance away.
- Repeat this step around the edges of the sleeves and the bottom of the T-shirt.
Step 10: Adding Texture
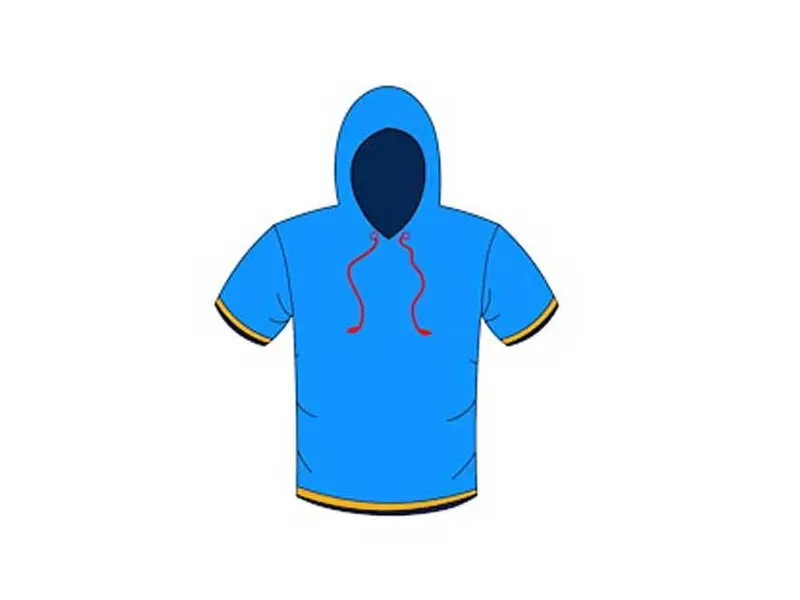
Add small curved lines to create subtle dents and texture to the T-shirt’s surface.
Step 11: Hoodie’s Top Arc
For drawing a hoodie on the T-shirt, sketch the top arc of the hoodie with a simple pencil.
Step 12: Coloring the Hoodie
- Fill in the inside of the hoodie with red while leaving the inner lines intact.
- Paint the inside of the hoodie with black and draw two laces.
With these steps, you’ve learned how to draw a hoodie on a person while incorporating realistic details and texture into your artwork.
How To Draw A Hoodie On A Person: Step-by-Step Guide
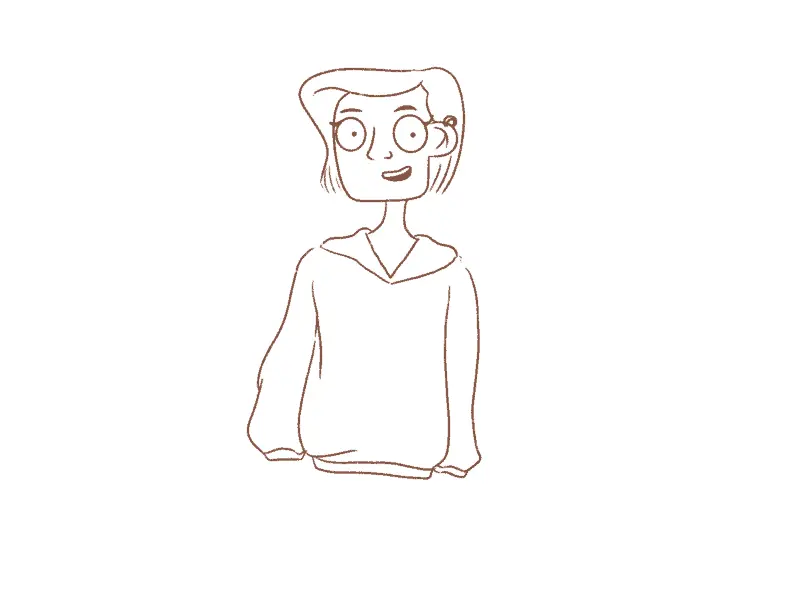
Drawing a hoodie on a person can be fun and challenging, especially when you want to capture different angles and styles.
This comprehensive guide will walk you through various scenarios, from drawing a hoodie with the hood down to creating an oversized hoodie on a character. Let’s dive in and explore the art of drawing hoodies on people!
How to Draw a Hoodie with the Hood Down
Drawing a simple cartoon hoodie on a person is straightforward, but adding folds and details makes things interesting. Follow these steps to draw a hoodie on a person with the hood down:
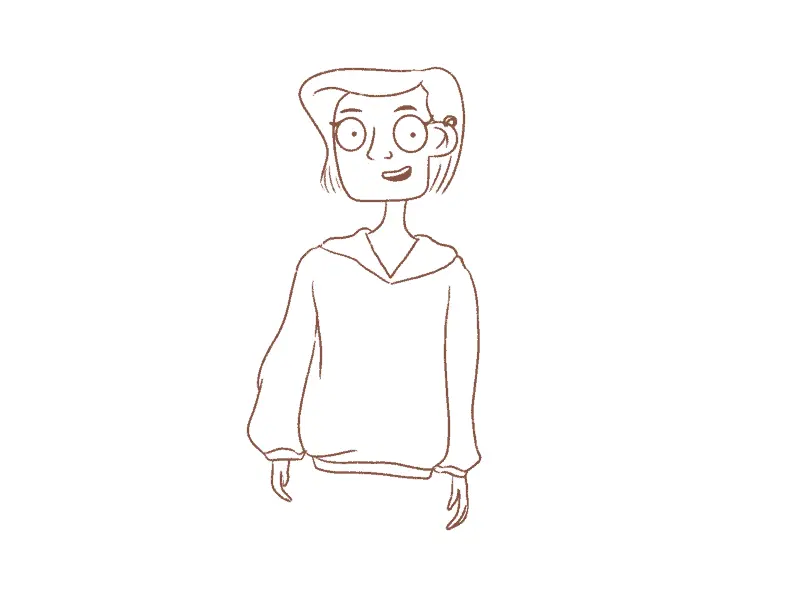
- Begin by sketching a simple cartoon head.
- Draw the person’s body, including a delicate neck and the “V” neckline of the hoodie.
- Sketch the hood of the hoodie on the person’s shoulders, keeping the lines lumpy to depict thickness.
- Complete the hood, maintaining loose and flowy lines for a natural look.
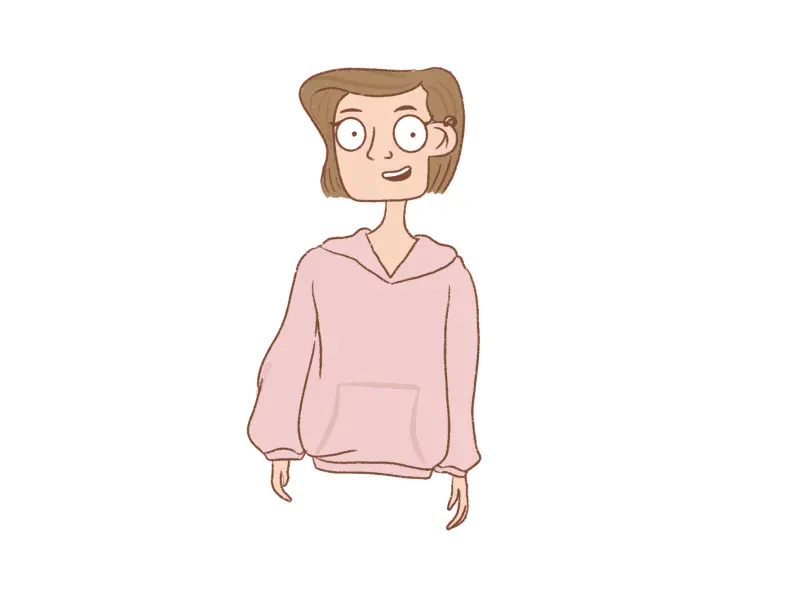
- Draw the body of the hoodie, remembering the curves and inward lines.
- Add the end of the hoodie, using loose lines for a relaxed appearance.
- Draw the sleeves and keep the lines loose and “S”-shaped.
- Finish with the hands, which are mostly hidden by the long hoodie.
- Color the hoodie in your preferred shade.
Congratulations! You’ve successfully learned how to draw a hoodie with the hood down.
How to Draw a Hoodie on a Person with the Hood Up
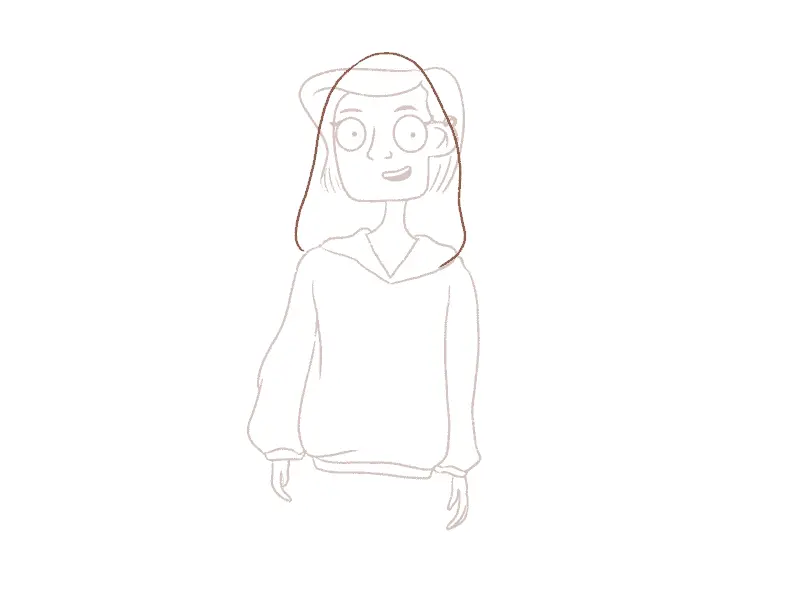
Now, let’s explore how to draw a hoodie on a person with the hood up. Follow these steps to capture this dynamic look:
- Begin with the same illustration as before, but lighten it to prepare for drawing the hood.
- Sketch the hood on the person, ensuring slightly wonky lines for a natural appearance.
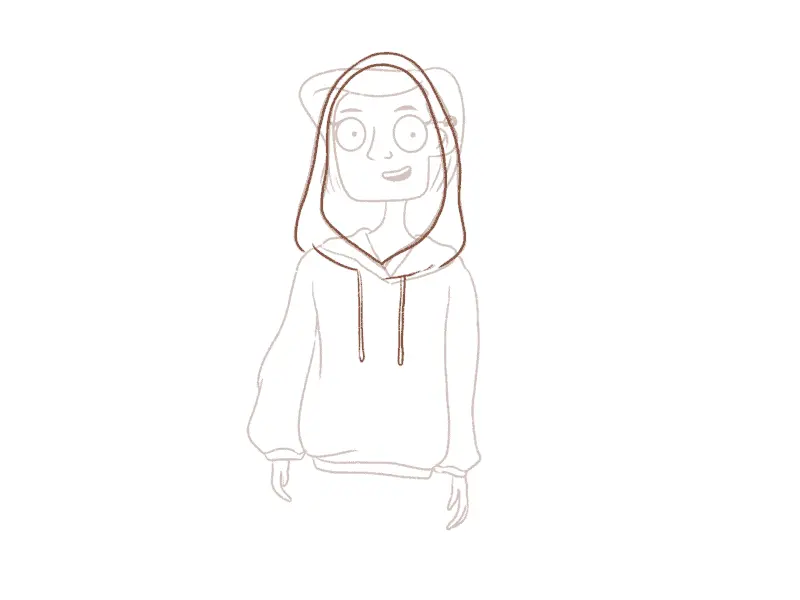
- Keep the hood loose and broader toward the shoulders.
- Draw the outside fabric of the hoodie.
- Attach the hood to the hoodie, leaving gaps in the lines for realism.
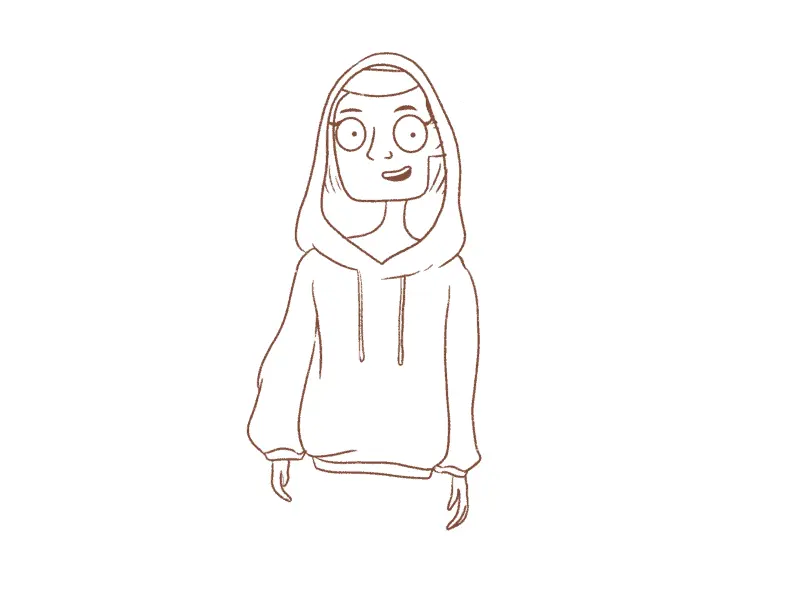
- Add drawstrings for added texture.
- Erase overlapping lines, such as hair outside the hoodie and lines inside the hood.
- Color the illustration as desired.
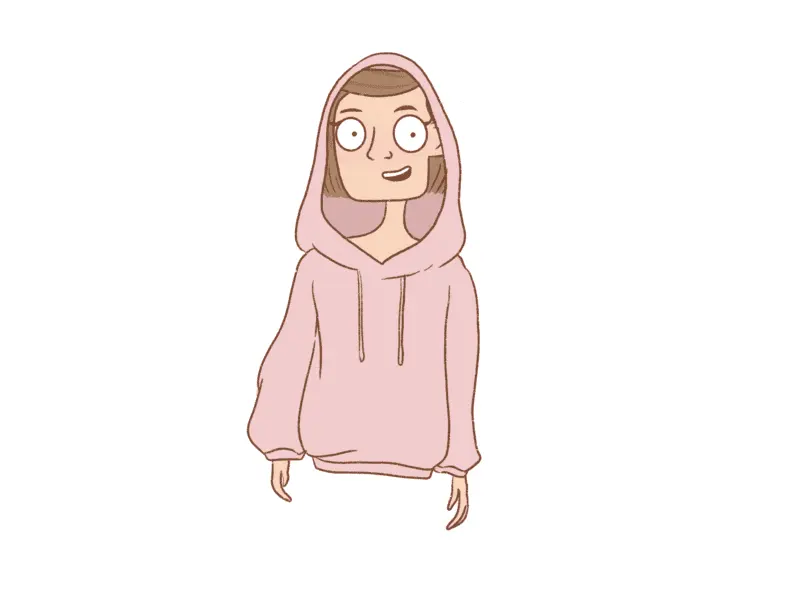
With these steps, you’ve mastered drawing a hoodie on a person with the hood up.
How to Draw a Hoodie (Side View)
Drawing a hoodie from a side view can be tricky, but fear not! Follow these steps for an effective side-view drawing:
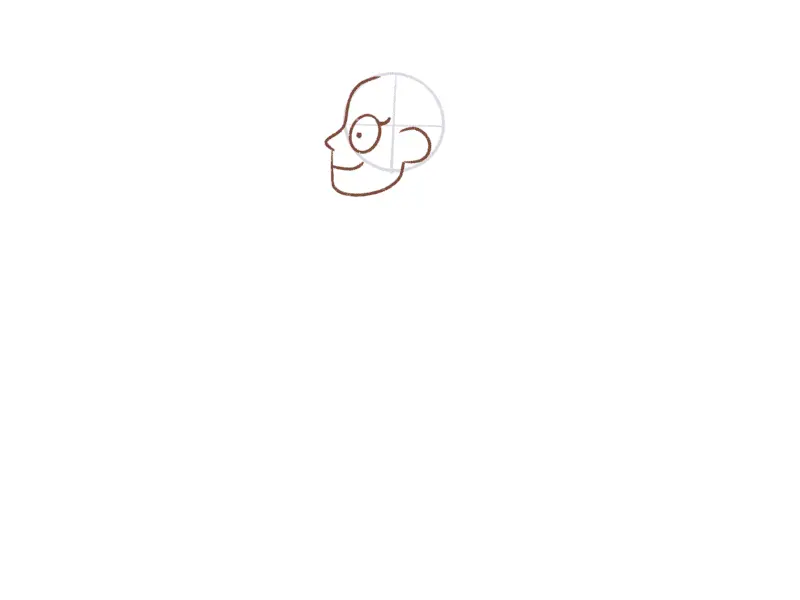
- Begin with a guideline, using a circle and a simple cross in the center of the head.
- Draw the head of the character, keeping in mind the placement of eyes, ears, nose, and jaw.
- Sketch the neck and the front hair of the character.
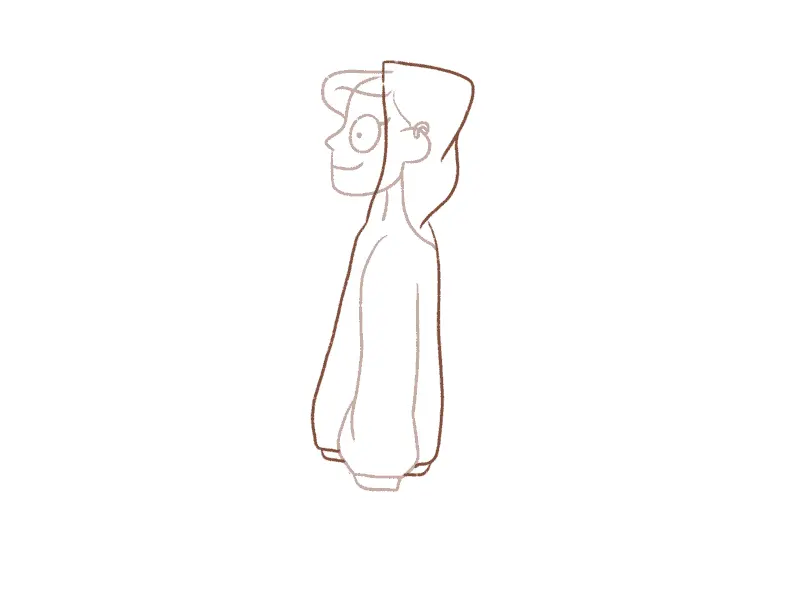
- Draw the sleeve of the hoodie, allowing the lines to flow loosely.
- Lighten the illustration before drawing the hood, emphasizing the downward folds.
- Draw the rest of the hoodie, following the shape of the person’s body.
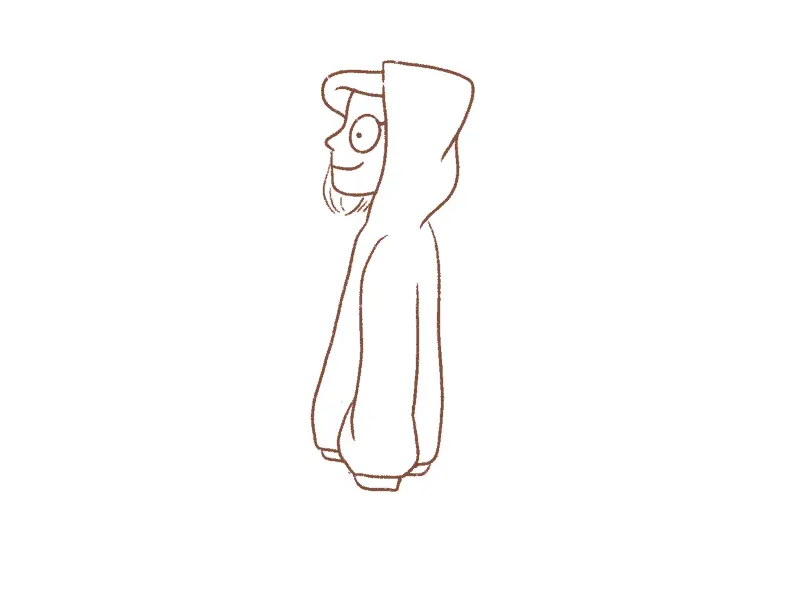
- Erase overlapping lines and complete the hair.
- Color the entire illustration to bring it to life.
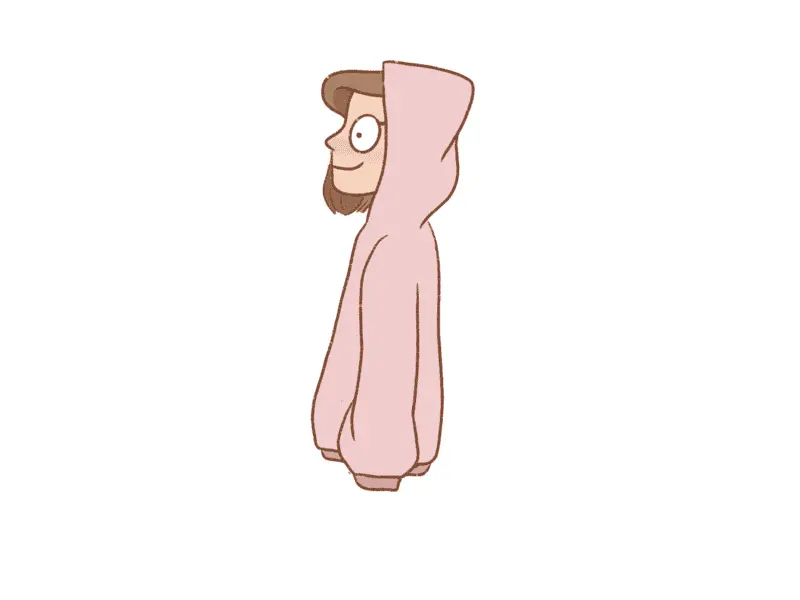
You’ve learned how to draw a hoodie from a side-view perspective.
How to Draw a Hoodie from the Back
Drawing a hoodie on a person from the back requires a unique approach. Here’s how to do it:
- Begin with the basic shape of the hoodie, considering the person’s posture.
- Keep your lines loose and curvy to convey the hoodie’s drape on the person.
- Draw the bottom band of the hoodie around the waist.
- Add the sleeves, maintaining loose and limber lines.
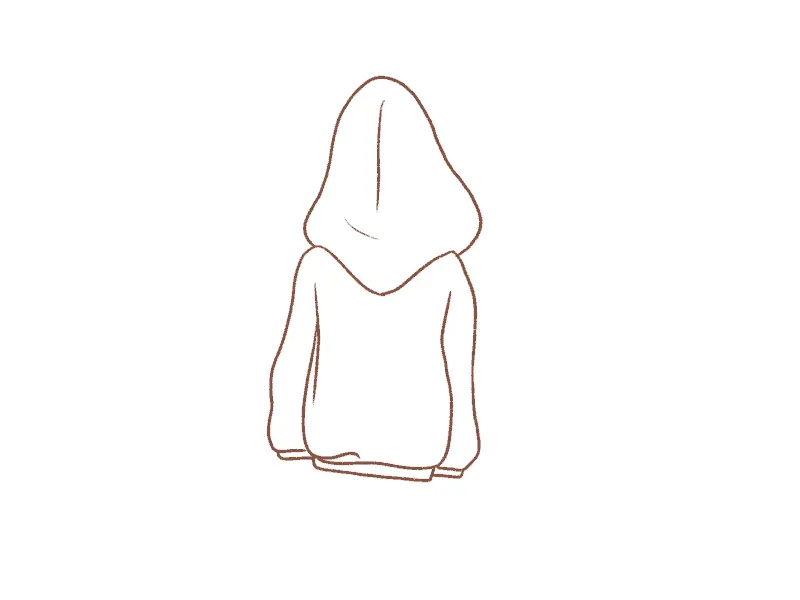
- Create the neckline at the back, which will become the bottom of the hood.
- Draw the hood as a simple inverted “U” shape.
- Add some rough lines for depth and texture.
- Color the hoodie to complete the drawing.
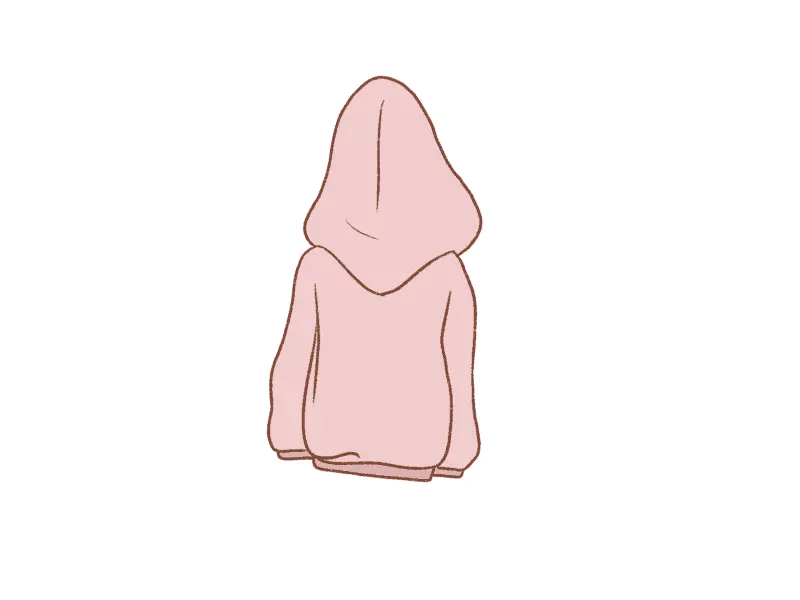
Congratulations! You’ve now mastered the art of drawing a hoodie from the back.
How to Draw an Oversized Hoodie
In the world of character design, oversized hoodies are a popular choice. Learn how to draw an adorable oversized hoodie on a character:
- Begin by drawing the character’s head and neck.
- Sketch the shoulders and oversized sleeves with bulging shapes near the wrists.
- Draw the hood, which rests on the shoulders and is slightly lumpy.
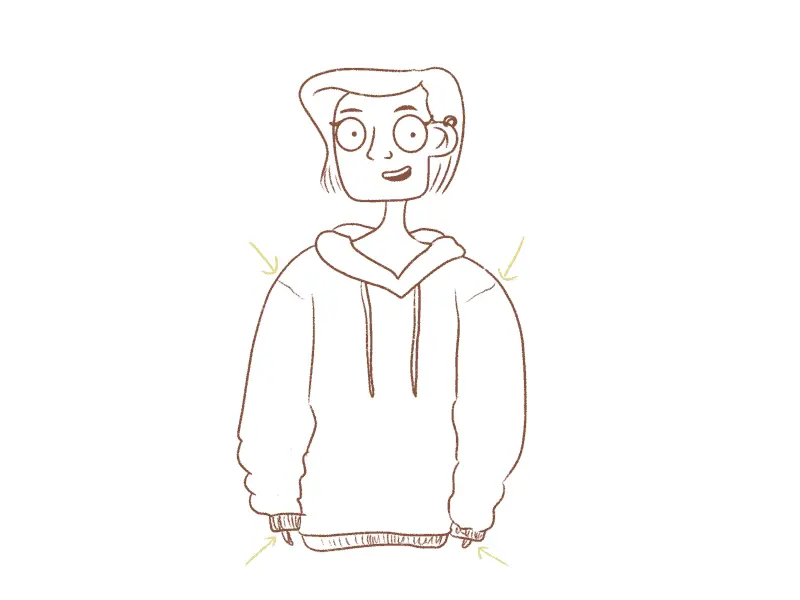
- Please continue with the sleeves, drawing them loosely and flowingly.
- Complete the hoodie, including the ends.
- Add definition by drawing lines towards the end of the shoulders.
- Keep the hands barely visible.
- Color the illustration in your chosen shades.
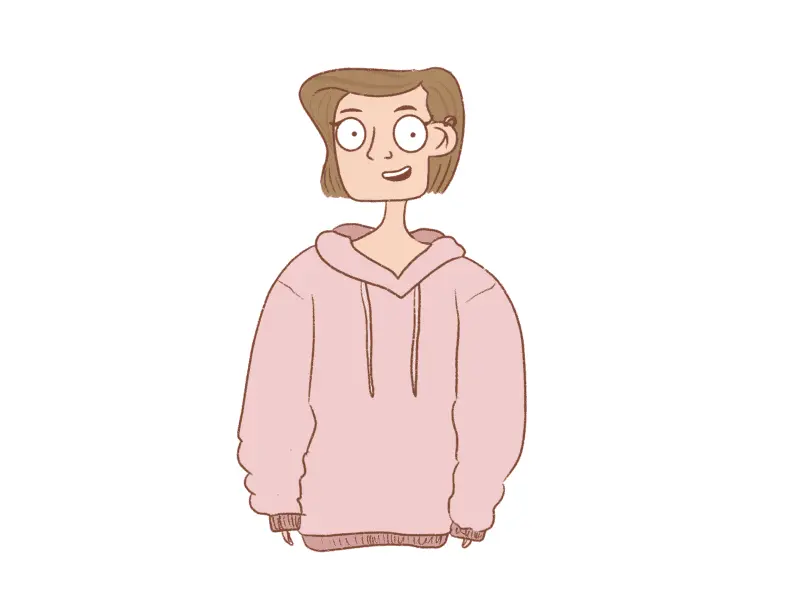
And there you have it! You’ve successfully learned how to draw an oversized hoodie on a character, giving them a cute and cozy appearance.
By following these step-by-step instructions, you can confidently draw hoodies on people from various angles and styles, allowing you to create captivating and dynamic illustrations. Happy drawing!
How To Draw A Hoodie On A Person: Conclusion
In conclusion, mastering the art of how to draw a hoodie on a person can be rewarding and enjoyable. While drawing clothing may present its unique challenges, persistent practice and honing your skills in depicting people, their attire, and hairstyles will undoubtedly lead to improvements.
With dedication and the techniques you’ve learned in this tutorial, you’ll be well on your way to creating captivating and lifelike illustrations. So, keep practicing, stay inspired, and continue exploring your artistic journey—it’s an exciting path to follow!


