No products in the cart.
Blog
How To Cut A Hoodie Neck – Hoodie Hacks: Exploring The Art Of Cutting A Hoodie Neck
Mastering “how to cut a hoodie neck” is the perfect way to give your hoodies a personalized touch. This DIY technique offers endless possibilities for transforming your hoodies into unique, stylish clothing.
Whether you’re aiming for a trendy off-the-shoulder look, a more comfortable fit, or a fashion-forward design, this guide will provide step-by-step instructions and valuable tips to make your customization process a breeze. So, grab your hoodie and scissors, and let’s embark on this creative journey together!
How To Cut A Hoodie Neck By Loosening The Neckline?
Step 1: Lay the Hoodie on a Flat Surface
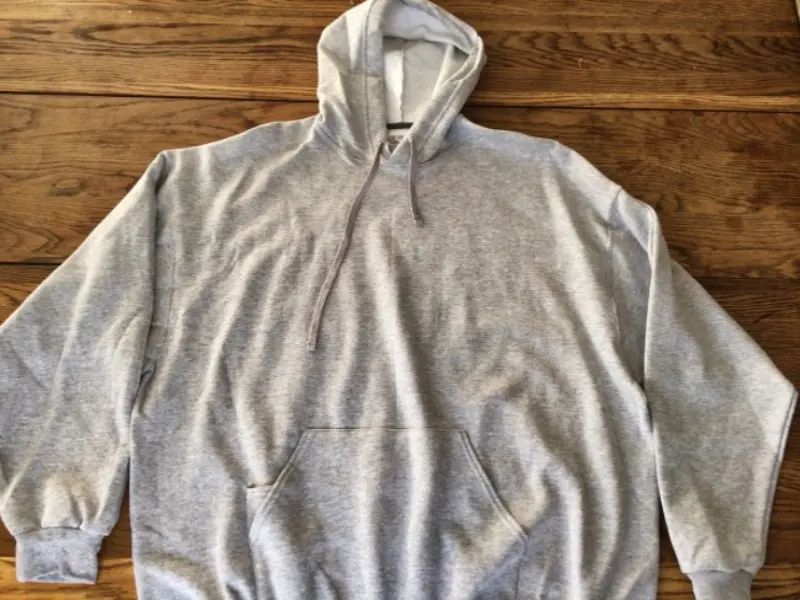
To begin customizing your hoodie’s neckline, start by laying the hoodie on a flat surface.
Working on a table or counter instead of a bed is essential to ensure you don’t accidentally cut into your bedspread. This step sets the foundation for a precise and controlled hoodie neck cut.
Step 2: Use Your Fingers to Spread Apart the Neckline
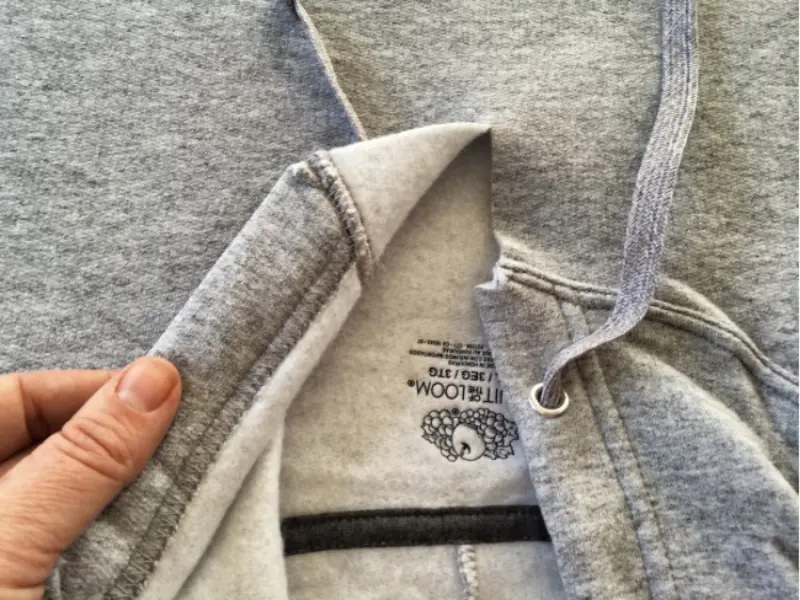
Once your hoodie is flat on the surface, use your fingers to spread apart the neckline where the two layers meet.
Gently pull the front of the hoodie in opposite directions so you can easily see where the two sides of the neckline meet. This will create a V-shaped point where the fabric layers intersect.
Step 3: Cut a Diagonal 1-Inch Slit
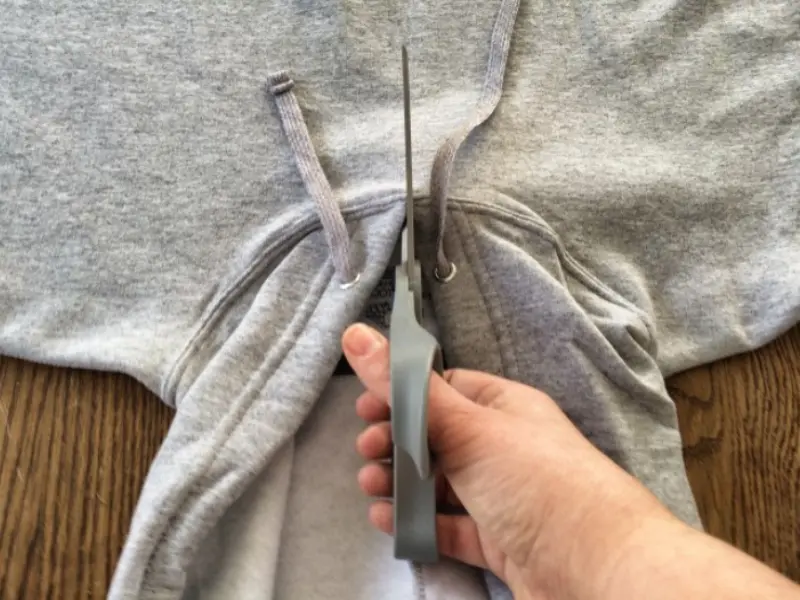
Now, it’s time to cut. Using a sharp pair of scissors, carefully cut a diagonal 1-inch (2.5 cm) slit where the edges of the neckline meet. Ensure that the cut goes in the same direction as the upper layer of fabric to make it less noticeable.
Keep in mind that this initial slit will fray slightly as you wash and dry the hoodie. If you prefer to prevent fraying, consider hemming the sides of the slit.
Step 4: Try on the Hoodie
With the slit in place, it’s time to try on the hoodie and assess the neckline’s fit. Put on the hoodie and check if the neckline is as loose and comfortable as desired.
If you find that it’s still too tight, you can extend the slit you cut by another 1⁄2 inch (1.3 cm) and try the hoodie on again. For a more rugged and distressed look, you can use your hands to tear the slit further instead of cutting it.

Following these simple steps, you can easily cut a hoodie neck to create a customized look that suits your style preferences.
Whether going for a relaxed and casual appearance or a trendy off-the-shoulder design, cutting a hoodie neck allows you to express your creativity and individuality through your clothing.
So, grab your favorite hoodie and some scissors, and let your inner fashion designer shine as you transform your hoodie into a unique fashion statement!
How To Cut A Hoodie Neck By Cutting A V-Neck?
Step 1: Spread the Hoodie
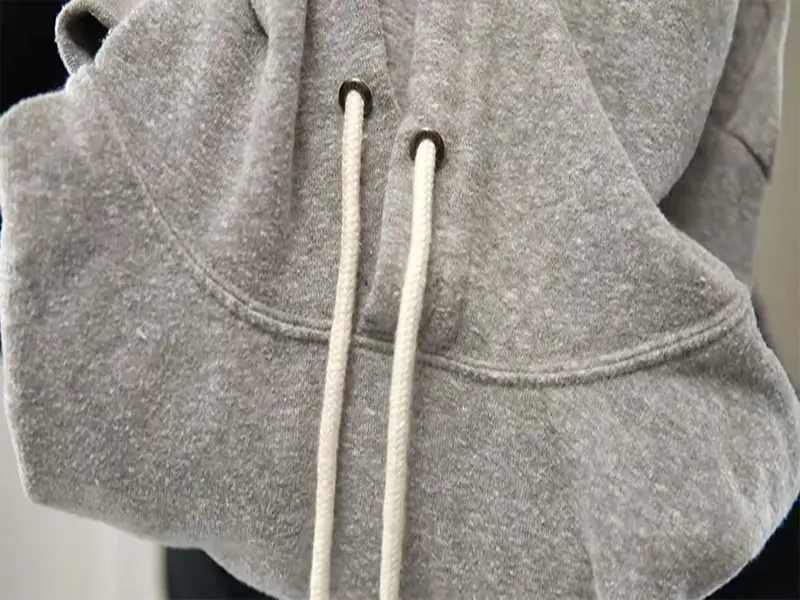
To start your hoodie customization journey, spread the hoodie on a flat work surface. It’s essential to avoid working on the floor or your bed, as you could inadvertently damage your carpet or bedspread.
Opt for a work table or counter instead, and for added protection, lay down a cutting mat to safeguard your work surface.
Step 2: Cut a Straight Line
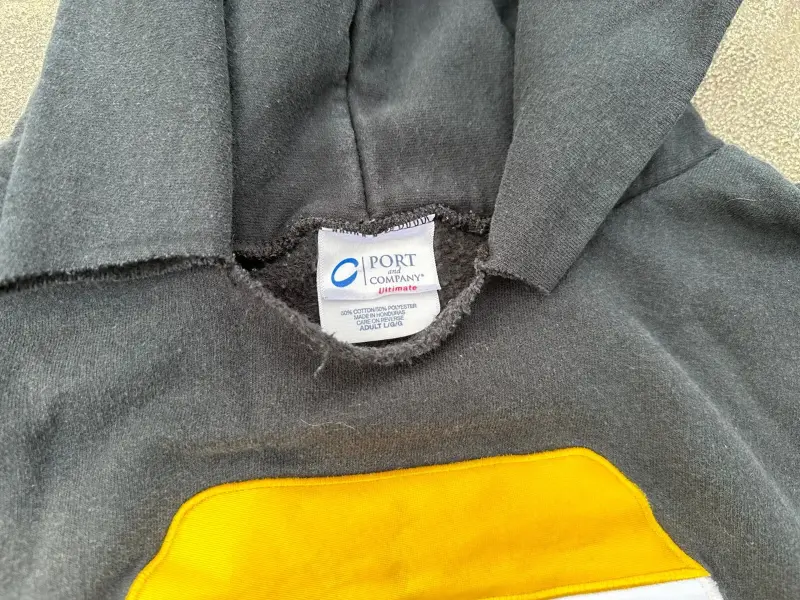
With your hoodie laid out flat, it’s time to determine the depth of your desired V-neck. Cut a straight line using scissors from the center of the hoodie’s neckline to the bottom of the V-neck’s point.
The length of the line will dictate the depth of your V-neck. For instance, for a deep V-neck, cut a longer line (around 5 inches or 13 cm), while a shallower V-neck can be achieved with a shorter cut (approximately 3 inches or 7.6 cm).
Step 3: Trim or Fold the Edges of the Neckline
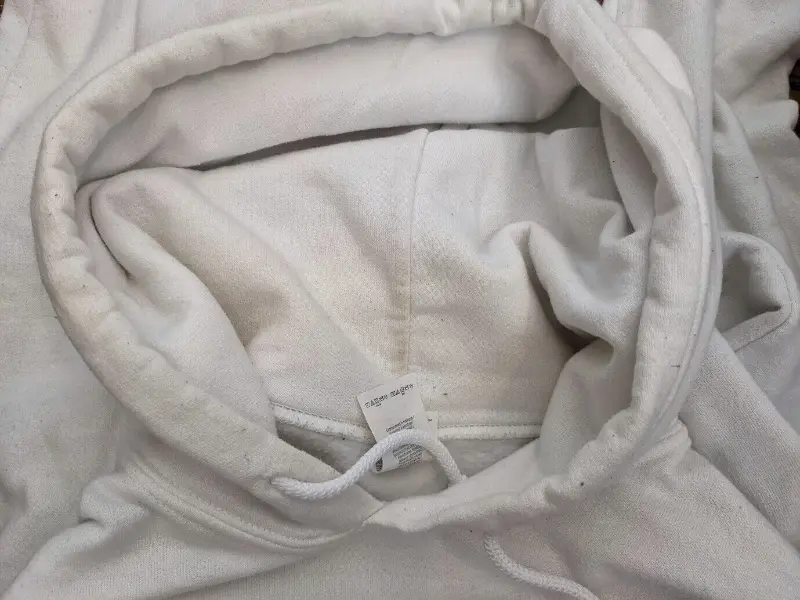
To create clean and smooth diagonal lines on your hoodie neckline, fold the edges of the neckline away from each other, forming a V-shape.
Now, you can decide whether to trim the excess fabric or keep the folded neckline as is. If you keep the fabric folded, consider sewing it in place to prevent it from falling onto your chest and maintain the desired shape.
Step 4: Poke Holes
For a unique embellishment, you can take your hoodie customization to the next level by poking holes along the V-neck and threading it to create a laced hoodie.
Using a skewer or a similar tool, poke 3 or 4 holes on each side of the V-neck.
Then, thread a new shoelace through the holes, similar to lacing a pair of shoes. This allows you to adjust the neckline’s tightness according to your preference.

Alternatively, you can experiment with different materials for threading, such as thick yarn or ribbon, to achieve various looks and styles.
Following these straightforward steps, you can easily learn how to cut a hoodie neck and add a personal touch to your clothing.
Whether you aim for a classic V-neck, an edgy laced design, or something unique, this DIY technique empowers you to express your creativity and style through your wardrobe.
So, grab your hoodie and scissors, and get ready to make a fashion statement that’s uniquely you!
How To Cut A Hoodie Neck By Making A Crop Top?
Hoodies are a wardrobe staple, but sometimes you want to give them a fresh, trendy look. One way to do that is by cutting the hoodie neck to create a fashionable neckline. In this step-by-step guide, we’ll walk you through how to cut a hoodie neck to achieve the perfect cropped look.
Step 1: Decide How Short to Crop Your Hoodie
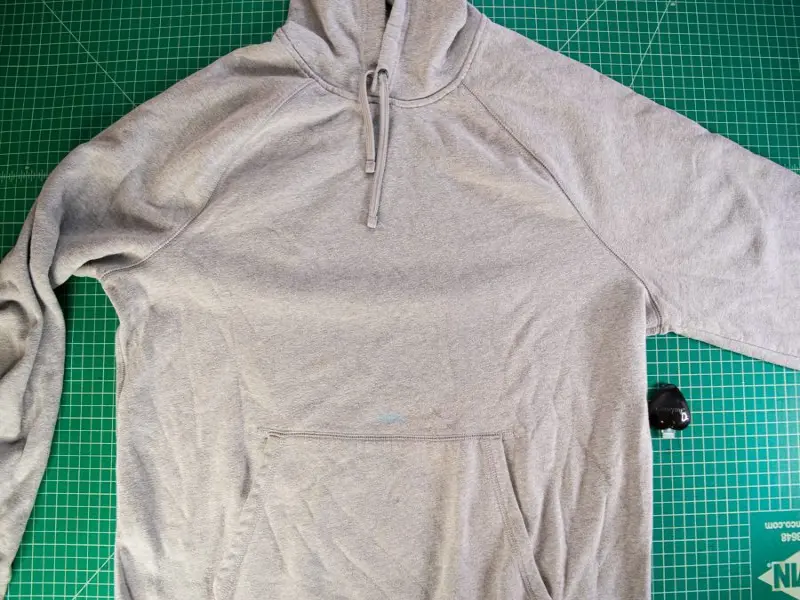
The first step in transforming your hoodie is to decide how short you want to crop it. To determine the ideal length, put on the hoodie and consider how high you’d like to cut it.
It’s a good idea to wear the shorts or pants you plan to pair with the hoodie to visualize the overall look.
Use a piece of chalk to mark the desired neckline to make it easier to remember where you want to crop.
Step 2: Hang the Hoodie and Tape the Sleeves
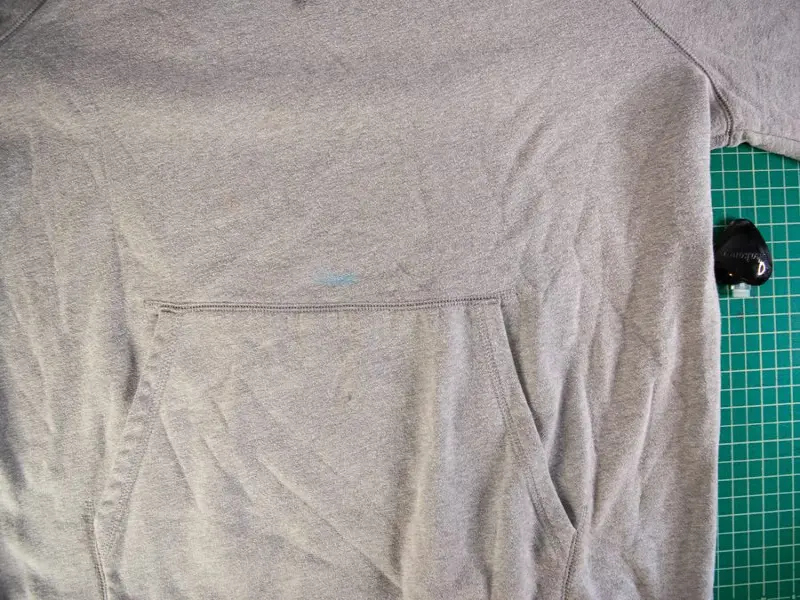
Next, remove the hoodie and place it on a hanger. Hang the hoodie against a flat surface like a wall or door.
Tape each sleeve off to the side to ensure the sleeves don’t get in your way while cutting. This will keep them securely out of your cutting path.
You can lay the hoodie flat on a table or work surface instead of hanging it.
Step 3: Pin or Clip the Bottom of the Hoodie Together
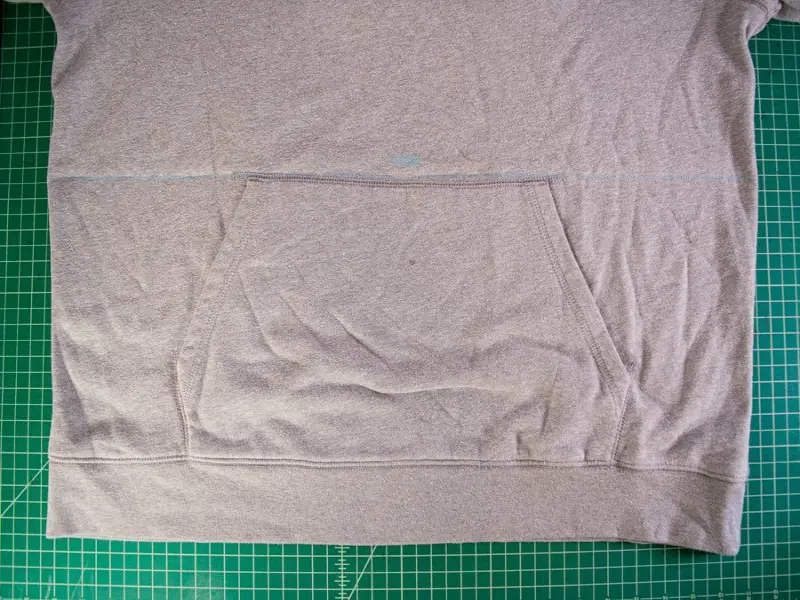
To maintain a clean and even cut, pin or clip the bottom edges of the hoodie together. You can use sewing pins, binder clips, or clothespins to hold the edges in place. Make sure the edges align perfectly along the desired cutting line.
You can skip this step if you’re going for a more distressed or uneven look.
Step 4: Use a Ruler to Draw a Straight Line
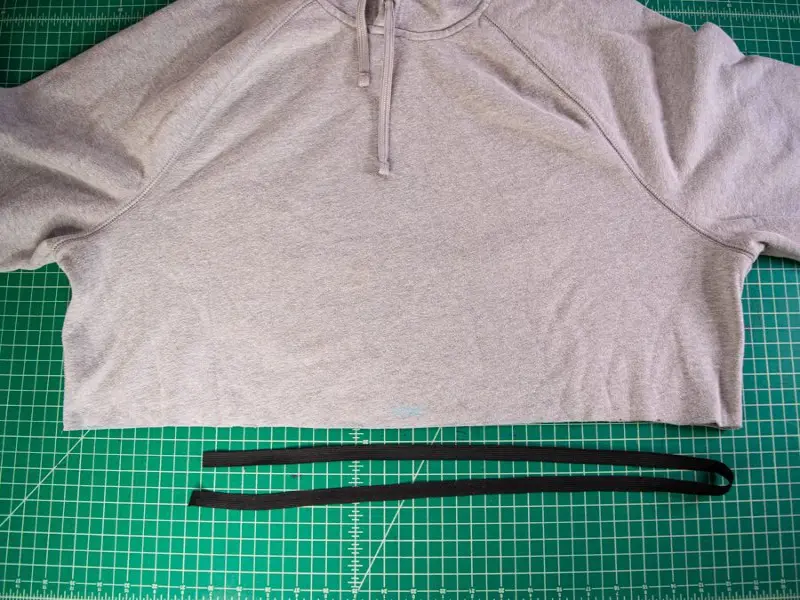
To create a precise cutting guide:
- Grab a ruler.
- Hold the ruler horizontally at the chalk mark you made earlier.
- Use a permanent marker or another piece of chalk to draw a straight line across the hoodie where you want to crop it.
Pro Tip: If your hoodie has a large front pouch, you can use the top as a guideline for your cut.
Step 5: Cut Across the Line to Crop the Hoodie Neck
Now comes the exciting part—cutting your hoodie to achieve the desired neckline. Using scissors, carefully cut straight across the line you drew in the previous step. Take your time to ensure a clean and precise cut.
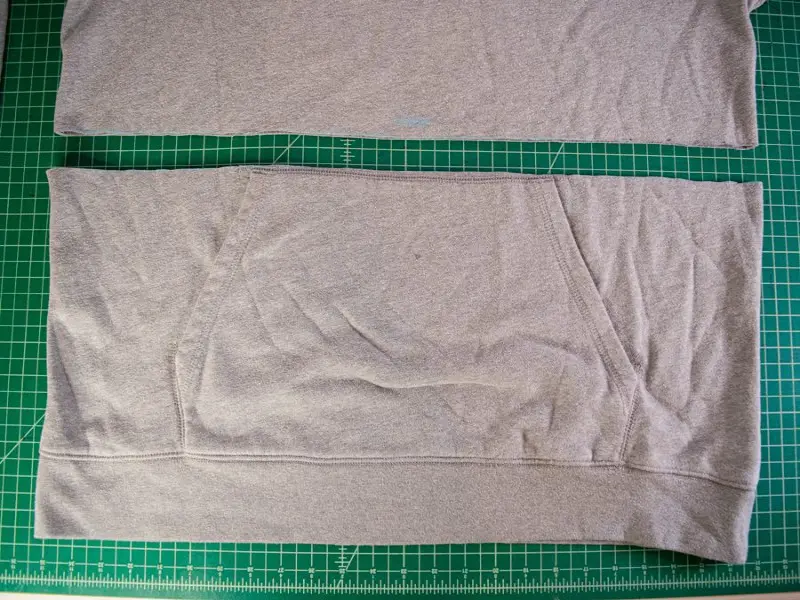
Once you’ve completed the cut, remove the hoodie from the hanger, and you’re ready to rock your new cropped hoodie!
Remember that over time and with washing, the bottom edge of your cropped hoodie may start to fray. Consider hemming the bottom edge to prevent fraying if you prefer a more polished look.
With these simple steps, you can transform your regular hoodie into a stylish cropped masterpiece. Experiment with different hoodie styles and lengths to create unique looks that suit your preferences.
Conclusion For Cutting A Hoodie Neck
In conclusion, learning how to cut a hoodie neck can be a fun and creative way to update your wardrobe. Following the steps outlined in this guide, you can achieve the perfect cropped neckline that complements your style.
Whether you’re looking to add a touch of edge to your outfits or want to breathe new life into an old hoodie, this DIY project is both easy to accomplish and rewarding.
Remember to take your time, use the right tools, and consider the overall look you want. With a little practice, you’ll master the art of hoodie neck cutting and be able to create custom, trendy pieces that are uniquely yours.
So, grab your scissors and elevate your fashion game by giving your hoodies a stylish twist with this simple technique to cut a hoodie neck.


