No products in the cart.
Blog
Expanding Comfort: How To Make A Hoodie Bigger
Looking to give your favorite hoodie a bit more breathing room? Learning how to make a hoodie bigger can be a game-changer in keeping your beloved garment in rotation. From simple DIY techniques to strategic alterations, there are effective ways to resize your hoodie and ensure a more comfortable fit. In this brief guide, we’ll explore quick and efficient methods to expand the size of your hoodie, letting you enjoy it just the way you like it.
How To Make A Hoodie Bigger – Step-by-Step Guide
The Water Soak Method
Gather Your Supplies
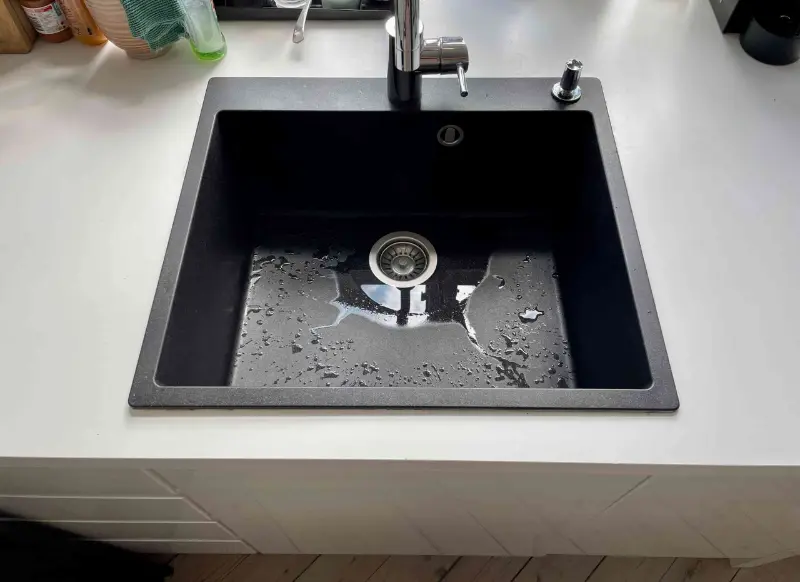
To embark on this journey to resize your hoodie, gather a bucket, conditioner, and the snug hoodie that needs a bit more room.
Prepare The Soaking Solution
Fill the bucket with hot water. The temperature needs to be hot enough to relax the fabric fibers, but not scalding! Add a few drops of conditioner into the water and mix it thoroughly until it dissolves.
Soak Your Hoodie
Immerse the hoodie into the hot water and conditioner mixture. Ensure it’s completely submerged. Gently stir and swish the hoodie around, allowing the solution to penetrate the fabric.
Allow Soaking Time
Let the hoodie soak in the solution for about 15-20 minutes. This duration allows the hot water and conditioner to work their magic on the fabric fibers, making them more pliable.
Rinse And Squeeze
After the soaking period, carefully remove the hoodie from the bucket. Rinse it under the tap to remove the conditioner thoroughly. Gently squeeze out excess water without wringing or damaging the fabric.
Stretching Session
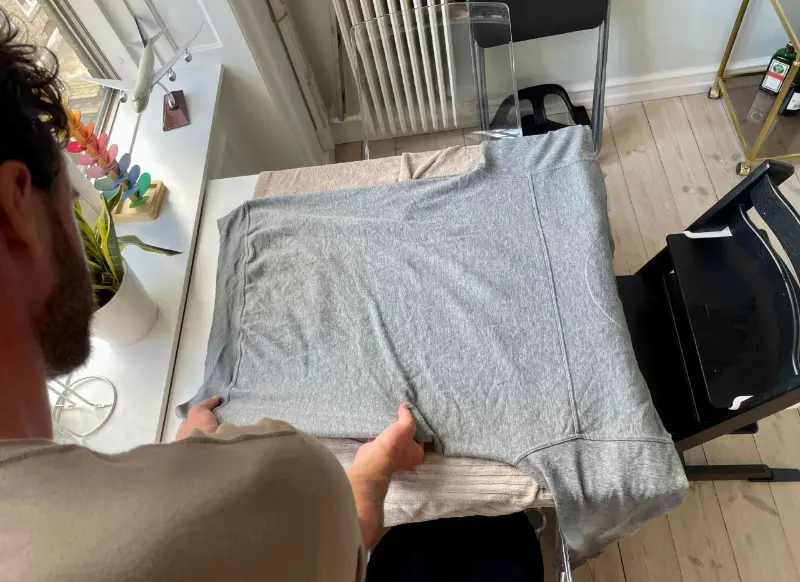
Lay the hoodie flat on a clean surface. Begin the stretching process by pulling and stretching the areas that need more room, such as the sleeves, torso, or hood. Take your time and be gentle yet firm in your stretching movements.
Repeat As Necessary
If you feel the need for more expansion, repeat the soaking and stretching process. Multiple rounds can gradually increase the hoodie’s size to your liking.
Air Dry
Lay your freshly treated hoodie flat to air dry. Opt for a well-ventilated area to allow for proper airflow. If possible, choose a breezy outdoor spot to expedite the drying process.
Enjoy Your Resized Hoodie
Once completely dry, your hoodie should have expanded a bit, offering a more comfortable fit. Wear it proudly, knowing you’ve customized it to perfection!
The Steamer Method
Gather Your Tools
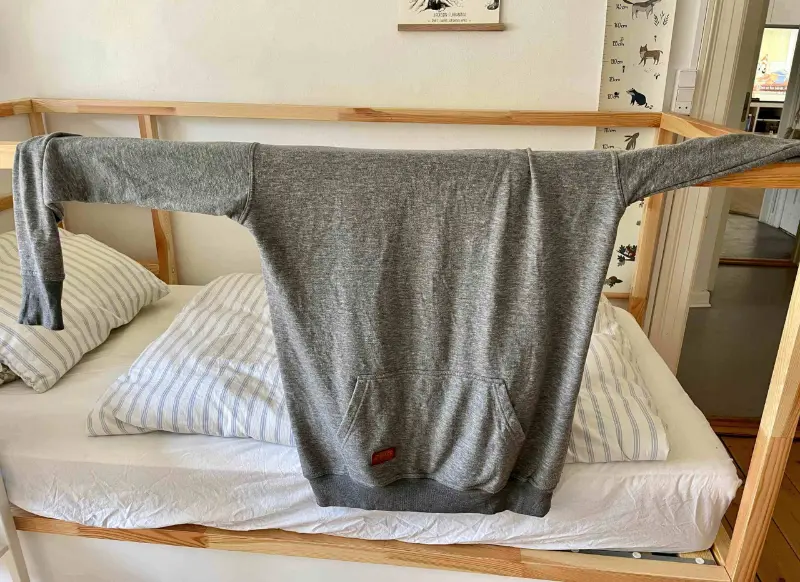
For this resizing technique, assemble your trusty clothing steamer and the hoodie that needs a bit more breathing space.
Prep Your Steamer
Fill your clothing steamer with water according to its instructions. Ensure it’s heated and ready to produce steam.
Steam The Hoodie
Hang the hoodie on a hanger or place it on a clean, flat surface. Hold the steamer several inches away from the fabric and move it evenly across the areas you want to enlarge. Concentrate on spots like the sleeves, torso, and hood that require more room.
Stretch While Steaming
While applying steam, gently stretch the fabric in the desired areas. The heat from the steam will loosen the fibers, making them more pliable and easier to stretch without damaging the material.
Repeat As Needed
If the hoodie needs further resizing, repeat the steaming and stretching process. Focus on specific areas until you achieve the desired fit.
Air Dry
Allow the hoodie to air dry naturally. Lay it flat on a clean surface to maintain its shape. Ensure it’s in a well-ventilated area to aid in the drying process.
Enjoy Your Revamped Hoodie
Once completely dry, your hoodie should have expanded, providing a more comfortable and roomier fit. Wear it proudly, knowing you’ve customized it to suit your preferences.
The Ironing Method
Gather Supplies
Gather the essentials:
- The hoodie you want to enlarge
- An iron
- A clean, flat ironing board
- Damp cloth or towel
Set Up
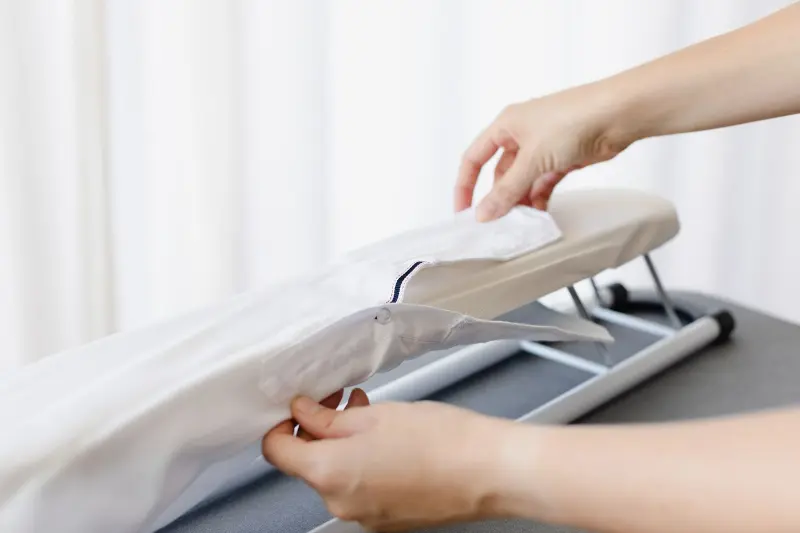
Prepare the ironing board on a flat, heat-resistant surface. Plug in the iron and set it to a low or medium heat setting. Make sure the hoodie is clean and free from any wrinkles.
Stretching
Put the hoodie onto the ironing board. Focus on the areas you wish to enlarge, such as the sleeves, chest, or overall width. Gently pull the fabric of the hoodie in the desired directions to create tension without tearing the material.
Dampen The Cloth
Take the damp cloth or towel and wring out any excess water, ensuring it’s moist but not dripping. Place it over the areas you’re stretching. The moisture helps relax the fibers, making them more pliable.
Ironing
With the damp cloth covering the stretched sections, start ironing over the cloth using slow and steady movements. Apply light pressure and maintain the iron at a low to medium heat. The heat, combined with the moisture from the cloth, encourages the fibers to loosen and expand.
Repeating The Process
Repeat the process of stretching, dampening, and ironing in sections until you achieve the desired increase in size. Be patient and avoid overheating the fabric, as this can damage it.
Cooling Down
Allow the hoodie to cool down completely before trying it on. This helps the fabric to set in its stretched position.
Check The Fit
Try on the hoodie to see if the size adjustment meets your expectations. If it’s still not large enough, you can repeat the process, focusing on specific areas that need further stretching.
Cutting Methods
Gather Supplies
Collect the necessary items:
- The hoodie you want to enlarge
- Sharp fabric scissors
- Measuring tape
- Chalk or fabric marker (optional)
- Sewing kit (needle and thread or sewing machine)
Assess And Mark
Put on the hoodie to assess where you need extra room. Identify areas that require enlargement, such as the sleeves, torso, or overall width. Use chalk or a fabric marker to lightly mark the areas you plan to modify. Alternatively, you can measure and mark specific dimensions using a measuring tape.
Prepare For Cutting
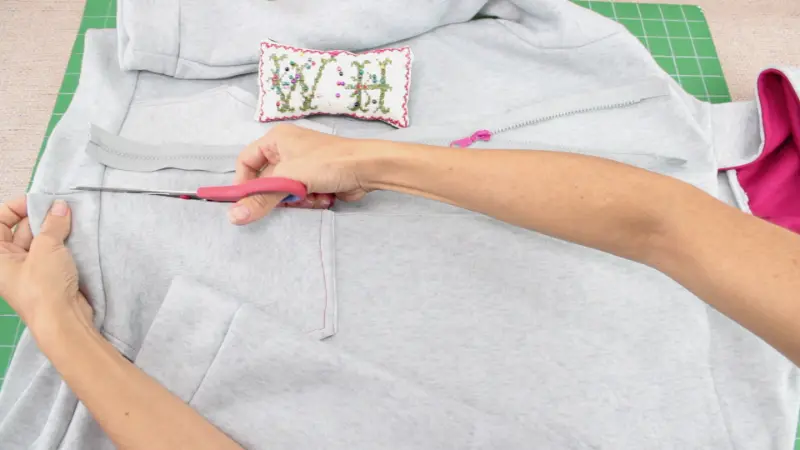
Take the hoodie off and lay it flat on a clean surface. Smooth out any wrinkles or folds to ensure accuracy while cutting. Double-check the markings to ensure they align with your desired alterations.
Cutting
Use sharp fabric scissors to carefully cut along the marked lines or measurements. Start with small, incremental cuts, as you can always remove more fabric later if needed. Cut symmetrically on both sides to maintain balance in the garment’s appearance.
Test Fit And Adjust
After cutting, try on the hoodie to check the fit. Make adjustments as needed by removing more fabric if it’s still too tight or resewing if it’s too loose in certain areas. Take your time to ensure the alterations match your preferences.
Sewing (If Necessary)
If you’ve cut excess fabric and need to secure the edges or seams, use a needle and thread or a sewing machine to sew along the cut edges. Create a straight and secure seam to prevent fraying and maintain the structural integrity of the garment.
Final Checks
Once you’ve made the necessary alterations, wear the hoodie again to ensure the fit meets your expectations. Check for any loose threads or uneven cuts that might need further attention.
Finishing Touches
If everything looks good, give the hoodie a final press with an iron to smooth out any wrinkles resulting from the alterations. Hang or fold the hoodie properly for storage or wear.
Sewing Method
Gather Supplies
Collect the necessary materials:
- The hoodie you want to enlarge
- Fabric that matches the hoodie (preferably the same or a complementary color)
- Measuring tape
- Fabric scissors
- Pins
- Sewing machine or needle and thread
Assess And Measure
Put on the hoodie to identify the areas that need enlargement. Measure the dimensions required to achieve the desired fit, such as the extra width for the torso, sleeves, or overall size. Take note of these measurements for reference.
Cut Fabric Panels
Using fabric scissors, cut panels of fabric according to the measurements you obtained in Step 2. Ensure the fabric matches the color and type of the hoodie or complements it well.
Pin The Fabric Panels
Place the hoodie flat on a clean surface and open it up, exposing the areas you want to enlarge. Pin the fabric panels onto these areas, making sure they align with the existing seams and follow the natural lines of the hoodie. Pinning helps secure the fabric in place for sewing.
Sewing
Using a sewing machine or needle and thread, carefully sew the fabric panels onto the hoodie. Match the stitching style and color to the existing seams for a seamless and integrated look. Ensure the stitches are strong and secure to withstand regular wear.
Trim Excess Fabric
After sewing, trim any excess fabric from the panels, leaving a small seam allowance to prevent fraying. This step ensures that the added fabric blends seamlessly with the original garment.
Try On And Adjust
Put on the hoodie to check the fit. Assess whether the added fabric provides the desired enlargement. Make adjustments as needed by adding more fabric or refining the stitching.
Final Touches
Once satisfied with the fit, give the hoodie a final press with an iron to smooth out any wrinkles resulting from the sewing process. Trim any loose threads for a polished appearance.
Tips And Things To Keep In Mind To Make A Hoodie Bigger

- Test a Small Area First: If you’re uncertain about the impact of steaming, test it on a small, inconspicuous area of the hoodie first.
- Conditioner Quantity: Use conditioner sparingly; a little goes a long way.
- Stretching Technique: Be gentle but firm while stretching. Avoid vigorous pills to prevent damage.
- Check Water Temperature: While rinsing, water temperature doesn’t matter, just ensure you remove all the conditioner.
- Gentle Handling: Be gentle while stretching to avoid tearing or damaging the fabric.
- Patience is Key: Take your time with the steaming and stretching process to avoid overstretching the fabric.
FAQs About How To Make Your Hoodie Bigger

Can I Use The Ironing Method To Make My Hoodie Bigger?
Certainly! The ironing method is a popular technique to stretch the fabric of your hoodie without compromising its integrity. Start by placing the hoodie on an ironing board and gently pulling the areas you want to enlarge. Use a damp cloth to cover the stretched sections and iron over it at a low to medium heat setting.
Is Cutting A Safe Method To Resize My Hoodie?
Yes, cutting can be a viable method, but it requires precision. Identify the areas of the hoodie that need adjustment and mark them carefully. Use sharp fabric scissors to make incremental cuts along the marked lines, ensuring symmetry on both sides to maintain the garment’s balance. Try on the hoodie after each cut to gauge the fit.
How Effective Is The Sewing Method For Enlarging A Hoodie?
The sewing method is a great way to increase the size of a hoodie while maintaining its original design. By adding fabric panels strategically, you can achieve the desired enlargement without compromising the overall aesthetic. Measure the dimensions needed, cut fabric panels accordingly, and sew them onto the hoodie, making sure to match the stitching style and color to the original seams.
Conclusion
So, there you have it—a straightforward DIY hack to make a hoodie bigger. Give it a try and enjoy your revamped, perfectly cozy hoodie without the hassle of returning it.


