No products in the cart.
Blog
How To Sew Sleeves On A Shirt – Step By Step Guide
How to sew sleeves on a shirt? Sew sleeves onto a shirt can be a daunting task, especially if you’re new to sewing or working with knit fabrics. However, with the right guidance, it can be a manageable and rewarding project.
In this article, we will explore two common methods for attaching sleeves to a shirt: sew sleeves flat and sewing set-in sleeves. We will also cover hemming sleeves and provide tips for working with knit fabrics.
Understanding the Basics of Sew Sleeves Alteration
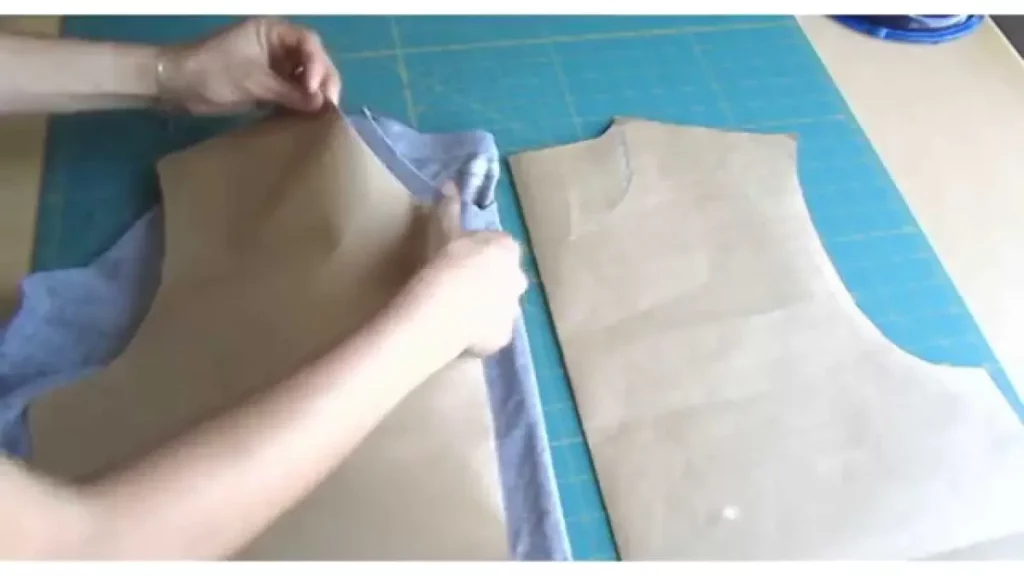
Before going through some methods, you need to understand the basics of sleeve alteration is essential for achieving a proper fit in your clothing. Here are the fundamental concepts to grasp when it comes to altering sleeves:
Sleeve Length
Sleeve length is a crucial factor in sew sleeves alteration. To adjust the length of a sleeve, you’ll need to measure the desired length and mark it on the sleeve pattern or the actual sleeve. Then, carefully cut the excess fabric and finish the new hem. Ensure that both sleeves are the same length for a symmetrical look.
Sleeve Width
If the sleeves are too tight or too loose, you can alter the width. To sew sleeves narrower, you’ll need to take in the seam allowance gradually from the underarm to the wrist. Conversely, to make sleeves wider, you’ll need to add extra fabric along the seam, ensuring it tapers smoothly.
Sleeve Cap Height
The sleeve cap is the curved part at the top of the sleeve. To adjust the sleeve cap height, you can either raise or lower it. This is done by altering the slope of the curve. A higher cap gives a more fitted look, while a lower cap provides more ease and comfort.
Sleeve Cap Ease
The ease in the sleeve cap determines how much fullness or puffiness there is at the top of the sleeve. You can adjust the ease by either increasing or reducing the gathering or ease stitches when setting in the sleeve. More ease results in a puffed look, while less ease creates a smoother appearance.
Armhole Size
Sometimes, you may need to adjust the armhole size to accommodate changes in the sleeve. If you’ve made significant sew sleeves, ensure that the armhole corresponds to the new sleeve shape for a proper fit.
Balance and Symmetry
When sew sleeves, it’s crucial to maintain balance and symmetry between the two sleeves. Measure and mark alterations carefully to ensure that both sleeves match.
Test Fitting
Always test the fit of the altered sleeves on the garment before finalizing the alterations. This allows you to make any necessary adjustments and ensures a comfortable fit.
Seam Finishing
After sew sleeves, be sure to finish the seams neatly, either by serging, using French seams, or another appropriate technique, to prevent fraying.
Pressing
Proper pressing is essential to achieve a polished look. Use an iron to press seams, darts, and any alterations to ensure they lie flat and look professional.
Sew Sleeves Flat
Step 1: Prepare Your Fabric and Pattern
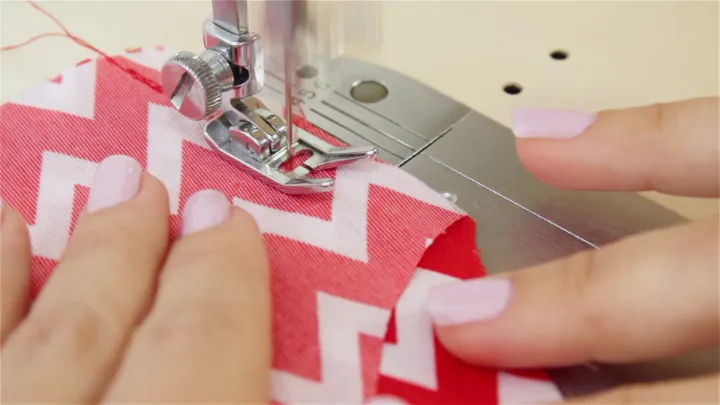
Before you begin sewing, make sure you have all the necessary materials: a shirt pattern, knit or stretchy fabric, scissors or cutting tools, pins, thread, and a sewing machine.
Step 2: Fold Your Fabric
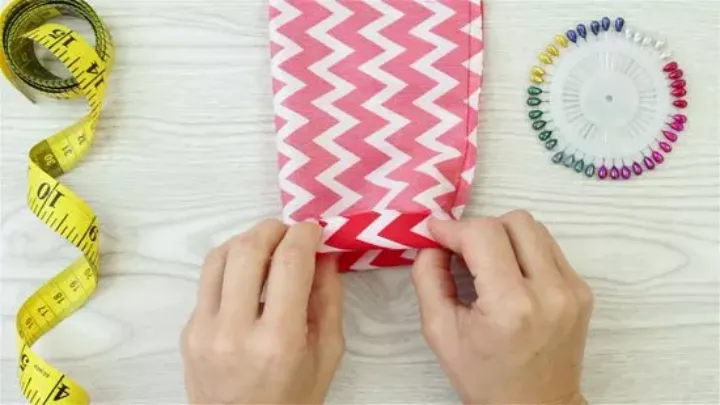
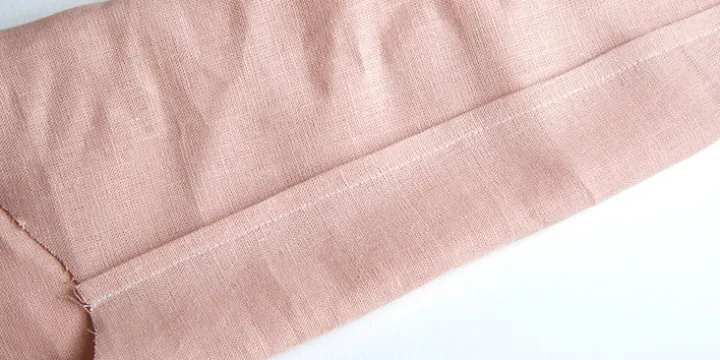
Fold your fabric in half lengthwise, matching the selvage edges. This will create a double layer of fabric, allowing you to cut both the front and back panels on a fold line.
Step 3: Cut Out Your Panels
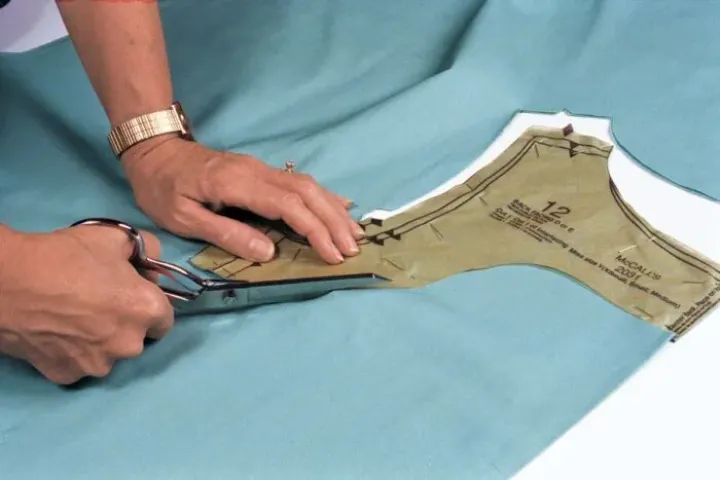
Place your pattern on the folded fabric, aligning it with the fold line. Cut out the front and back panels, ensuring that you follow the pattern instructions for the correct size.
Step 4: Sew the Shoulder Seams
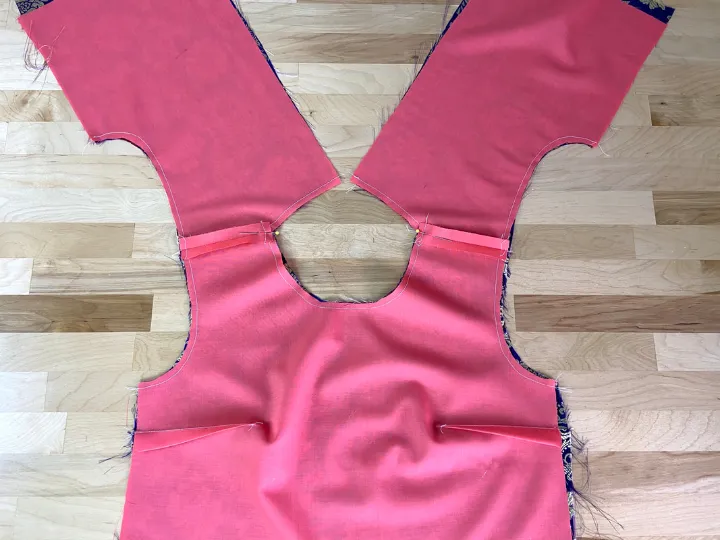
With the right sides together, match the shoulder seams of the front and back panels. Pin them in place and sew using a stretch stitch on your sewing machine.
Step 5: Attach the Neckband

Fold your neckband fabric in half lengthwise with the wrong sides together. Match the center seam of the neckband with the center back of the shirt neckline. Pin the neckband to the shirt neckline, right sides together. Sew in place using a stretch stitch.
Step 6: Sew the Side Seams
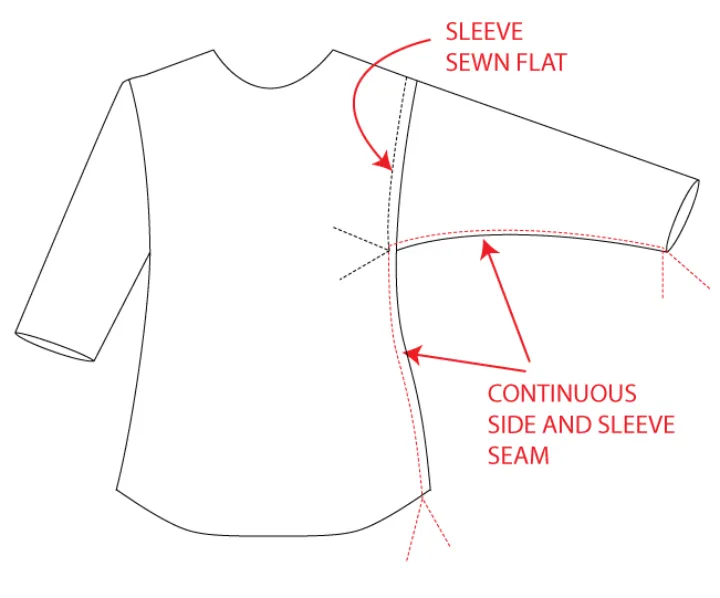
With right sides together, align the side seams of the front and back panels. Pin and sew from the sleeve edge down to the hem using a stretch stitch.
Sewing Set-In Sleeves
Step 1: Match Sleeve Notches
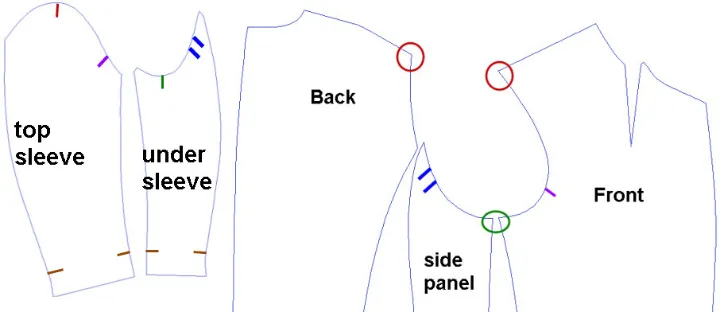
Identify the sleeve notches on your shirt pattern and sleeves. Match the notches on the sleeves to those on the shirt’s armholes. Pin the sleeves to the armholes, right sides together, ensuring the sleeve cap aligns with the shoulder seam.
Step 2: Sew the Sleeves

Sew sleeves to the armholes, starting at the notch and working your way around. Use a stretch stitch to allow for ease of movement. Be careful not to stretch the fabric while sewing.
Step 3: Finish the Seams

Once the sleeves are attached, finish the seams either with a serger or by trimming the seam allowance and using a zigzag overlock stitch to prevent fraying.
Hemming Sleeves
Step 1: Decide on Hem Style

Determine the desired length of your sleeves and decide on the hem style. You can create a simple folded hem or a more elaborate cuff, depending on your preference.
Step 2: Fold and Pin

Fold the sleeve edge up to the desired length, ensuring it is even all the way around. Pin the hem in place.
Step 3: Sew the Hem
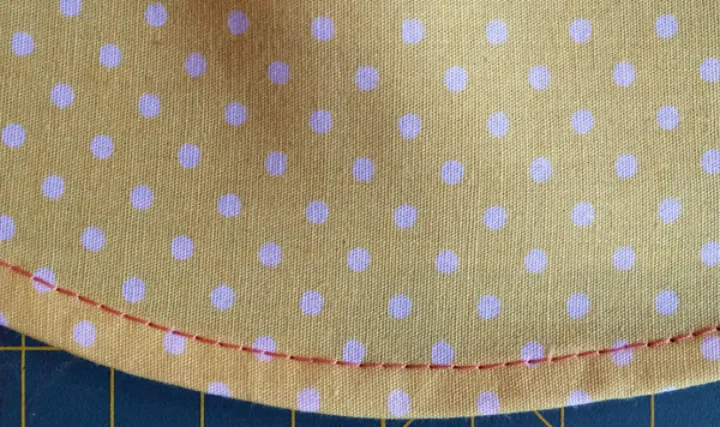
Using a stretch stitch, sew the hem in place, removing the pins as you go. Repeat this process for both sleeves.
Are Sleeves Hard To Sew?
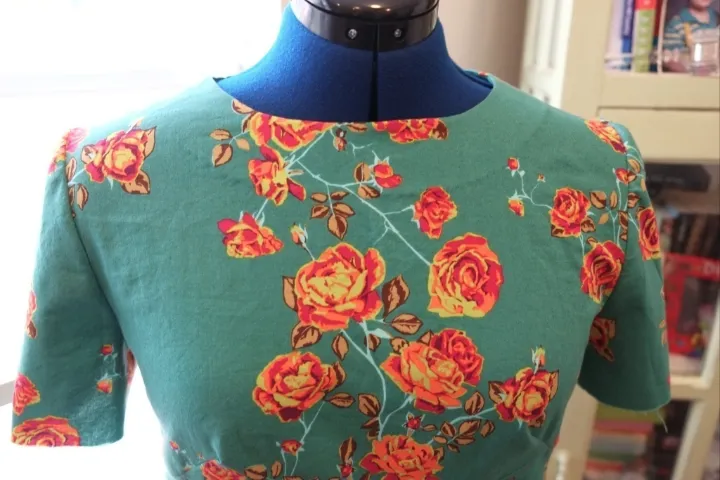
Sew sleeves can be a bit challenging, especially if you’re new to sewing or don’t have much experience with garment construction. However, with practice and the right techniques, sewing sleeves can become easier. Here are a few tips to help you with sewing sleeves:
Use the Right Pattern
Start with a sewing pattern that provides clear instructions for attaching sleeves. Patterns often have markings and notches to help you align the sleeves correctly.
Pin and Baste
Pin the sleeves to the body of the garment before sewing. Basting (temporary hand stitching) can help hold the sleeves in place and allow you to check the fit before using a sewing machine.
Ease the Sleeve Cap
The curved top part of the sleeve (the sleeve cap) may need to be eased or slightly gathered to fit smoothly into the armhole. Use easing stitches or gather stitches to distribute the fullness evenly.
Practice Patience
Take your time when sew sleeves. Go slowly, and don’t rush the process. It’s better to sew carefully and get it right the first time than to have to rip out seams and start over.
Press as You Go
Use an iron to press seams and sleeve allowances as you sew. Pressing helps set the stitches and gives a professional finish.
Experiment with Techniques
There are different ways to attach sleeves, such as set-in sleeves, raglan sleeves, or kimono sleeves. You may find one type of sleeve easier to sew than others, so feel free to experiment and find what works best for you.
Seek Tutorials and Guidance
There are many sewing tutorials and instructional videos available online that can provide step-by-step guidance on sewing sleeves. Watching experienced sewers in action can be very helpful.
Practice and Patience
Like any skill, sewing sleeves becomes easier with practice. Don’t get discouraged if your first few attempts aren’t perfect. Keep practicing, and you’ll improve over time.
Who Has Trouble With Sewing To Attach Sleeves For Shirts And Dresses?
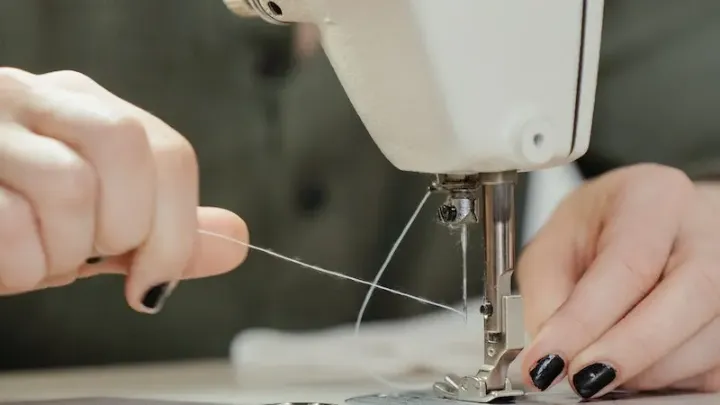
Many people, especially beginners in sewing, may encounter challenges when attaching sleeves to shirts and dresses. Sewing sleeves can be tricky due to the need for precision and careful stitching. Here are some common difficulties people face:
Difficulty with Sleeve Ease
The sleeve cap, which is the curved top part of the sleeve, often needs to be eased or gathered to fit into the armhole smoothly. This can be challenging to get right, and improper easing can result in puckering or uneven gathers.
Aligning Seams
Ensuring that the seam on the sleeve aligns perfectly with the seam on the garment’s body can be challenging. Misalignment can lead to an unprofessional finish.
Setting-in Sleeves
Attaching set-in sleeves, which are separate pieces from the garment’s body, can be more challenging than sewing sleeves on garments with raglan sleeves or kimono sleeves.
Understanding Pattern Instructions
Sewing patterns can sometimes have complex instructions for attaching sleeves, and deciphering them can be confusing for beginners.
Fitting Issues
If the garment doesn’t have the right fit or if the sleeve pattern is not adjusted correctly, it can lead to difficulties in attaching sleeves.
Puckering and Wrinkles
If the fabric is not handled properly, it may result in puckering, wrinkles, or uneven seam allowances, which can be frustrating.
Lack of Experience
Beginners may not have the experience and techniques required for sewing sleeves neatly, and it can take time to develop these skills.
Conclusion
In conclusion, sewing sleeves onto a shirt is a skill that, when mastered, can significantly enhance your garment-making abilities. By following the steps outlined earlier, you can achieve a clean and professional-looking finish for your shirt sleeves. Remember to pay attention to details, such as matching notches and easing in the sleeve cap, to ensure a proper fit and comfortable wear.


