No products in the cart.
Blog
How To Remove Lettering From A Shirt: Best 2 Methods
Today, I’m thrilled to share a nifty fashion tip that’s going to breathe new life into your wardrobe. Have you ever had a shirt with lettering that you’ve fallen out of love with? Maybe it’s a souvenir from a concert, a faded logo tee, or a shirt that just doesn’t suit your style anymore. Fear not! I’m here to guide you through the art of lettering removal and trust me; it’s easier than you might think.
As someone who’s spent years crafting content in the digital realm, I’ve honed my skills in creativity and problem-solving. Whether it’s motion flyers, animations, or tutorials, I’ve dabbled in it all. But today, I’m stepping away from the pixels to bring you a real-world solution. We’re going to transform that old, lettered shirt into a blank canvas waiting for your personal touch.
So, if you’re ready to unleash your inner fashion designer and give your wardrobe a makeover, stay tuned. In this article, I’ll share How to remove lettering from a shirt. Let’s dive in!
What you will need to follow

Removing letters from a shirt is a meticulous process that requires patience, the right tools, and a steady hand. Whether you want to repurpose an old shirt, fix a mistake, or just get rid of unwanted lettering, here’s a detailed guide on what you’ll need and how to do it.
Patience is Key
Removing letters from a shirt can be a time-consuming task, so it’s essential to approach it with patience. Rushing through the process may damage the fabric or leave behind unsightly remnants.
Gather Your Tools
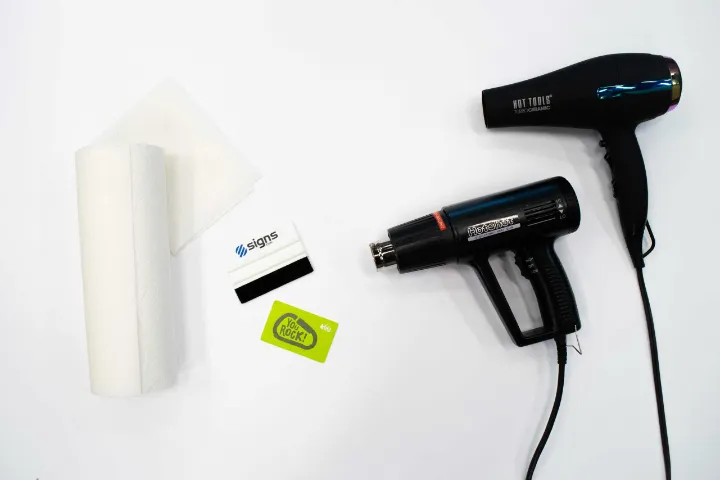
To effectively remove letters from a shirt, gather the following tools:
- A Seam Ripper or Small Scissors: These tools are essential for cutting or picking out the stitches that hold the letters in place. A seam ripper, with its pointed end and sharp blade, can be particularly useful for precision work.
- Tweezers: Tweezers come in handy for grabbing and removing any remaining threads or fabric bits that may be left after removing the letters.
- Good Lighting: Adequate lighting is crucial. Proper illumination will help you see the tiny stitches and ensure that you’re working accurately.
Prepare Your Work Area
Find a clean, well-lit workspace where you can lay the shirt flat. A table or ironing board works well for this purpose. Make sure your tools are within easy reach, and consider placing a small trash bin nearby for disposing of any thread or fabric scraps.
Examine the Letters
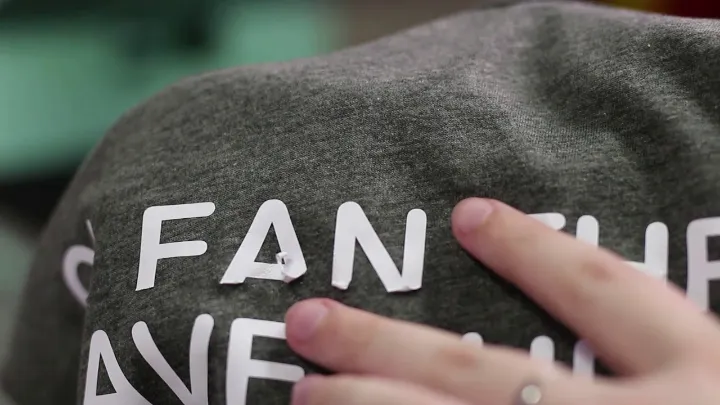
Before you start removing the letters, take a close look at them. Are they heat-pressed, embroidered, or sewn on with stitches? This will determine the best approach for removal.
Heat-Pressed Letters

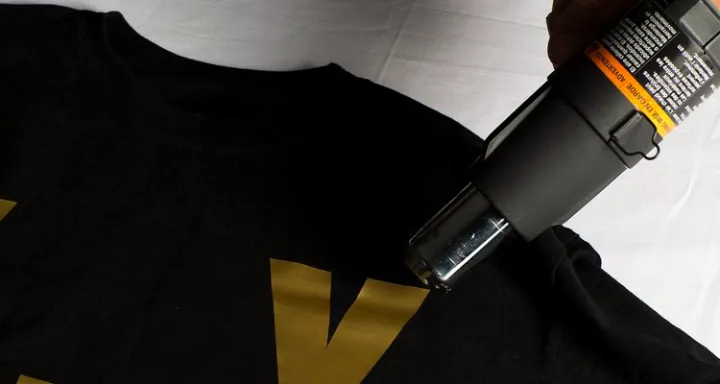
If the letters are heat-pressed, gently heat them with an iron. Place a piece of parchment paper or a thin cloth over the letters and press the iron on the cloth for a few seconds. The heat should soften the adhesive, making it easier to peel off the letters. Be cautious not to overheat and damage the fabric.
Embroidered or Sewn Letters
For embroidered or sewn letters, carefully use a seam ripper or small scissors to cut the threads around the edges of each letter. Take your time and avoid cutting the shirt’s fabric. Once you’ve cut the stitches around the letter, you can gently pull it away. Use tweezers to remove any remaining threads or fabric bits.
Check for Residue
After removing the letters, inspect the shirt for any adhesive residue or leftover threads. If you find residue, you can use a fabric adhesive remover or a mixture of equal parts vinegar and water to gently rub the area. Be sure to test a small, inconspicuous area first to ensure it won’t damage the fabric.
Launder the Shirt
Once you’ve successfully removed the letters and any residue, launder the shirt according to its care instructions. This will help remove any remaining traces of adhesive or fabric bits.
how to remove lettering from a shirt: Step-by-step instructions
Method 1: Getting Rid of Printed Designs with an Iron

Step 1: Place the garment flat on a suitable surface for ironing, like an ironing board or a sturdy table. If you’re in a pinch, you can even use the floor, but be cautious with a hot iron near carpets. This technique is handy for removing vinyl or rubber prints that were heat-transferred onto the clothing.
Step 2: Slide a dry towel inside the clothing under the printed area. Fold a towel to fit inside the clothing beneath the print you want to remove. This shields the opposite side of the fabric from the iron’s heat. If you don’t have a spare towel, an old soft t-shirt or similar item will work without getting damaged by the heat.
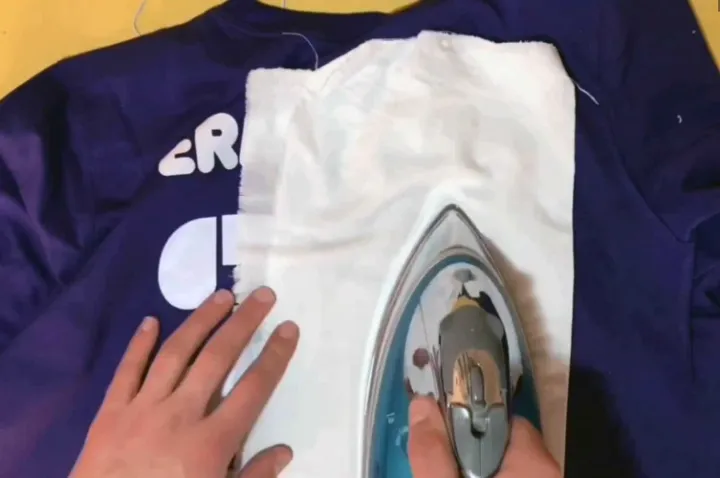
Step 3: Cover the printing with a damp cloth. Soak a hand towel or a clean cloth in cold water, wring out excess water, and lay it flat over the print you intend to erase. The wet cloth acts as a barrier, preventing the print from melting onto the iron.
Step 4: Place a hot iron on top of the wet cloth directly over the printing. Apply gentle pressure with your hand to ensure the heat reaches the print. If you have a heavy old-fashioned iron, you can let it rest on the print since its weight should suffice.
Step 5: Remove the iron when the wet cloth underneath is dry. Listen for the water sizzling and evaporating beneath the iron. Once the cloth is dry and you don’t hear any more bubbling, lift the iron and set it aside. Leaving the iron on for too long after the cloth dries could lead to burning.
Step 6: Use a knife to carefully loosen and peel off the printing. Gently scrape the print with the sharp edge of a knife, assisting with your fingers once it’s loosened. Always scrape away from yourself to avoid accidents. Try to use the knife primarily to loosen the edges of the print, relying on your fingers to peel it off further to avoid damaging the fabric underneath.
Step 7: Repeat the process until all the printing is gone. If the cloth under the print dries out, wet it again. Apply the hot iron over the wet cloth for the remaining print, then scrape and peel until you’re satisfied. Depending on how stubborn the printing is, you may need to repeat certain sections multiple times.

Method 2: Removing Prints with Solvents Made Easy
Step 1: Grab a common household solvent like rubbing alcohol, nail polish remover, or adhesive remover. Ensure you have enough to cover the printed area on your clothing.
You can also opt for a specialized heat transfer vinyl remover for vinyl lettering on clothes.
Remember, solvents work for vinyl and rubber prints but not for screen-printed ink, which is permanent.
Step 2: Test the solvent on a hidden clothing area to check for damage. Apply a drop or two on an inconspicuous spot, wait, and see if it causes any discoloration or harm to the fabric.
If there’s no damage, you’re good to go. If there is, find a different solvent to avoid ruining your clothing. Avoid using solvents on delicate fabrics like rayon, wool, or silk.
Step 3: Turn the clothing inside out, exposing the back of the print. Lay it flat on a surface, ideally a table or counter, for easier print removal.
Step 4: Apply the solvent to the area with the printing. Make sure it soaks the entire backside of the fabric behind the print. Consider wearing a facemask if solvent fumes bother you.
Work over a surface that’s easy to clean in case of spills, and avoid stretching the fabric excessively.
Step 5: Flip the clothing right side out and start peeling or scraping off the print. Try using your fingers or the sharp edge of a knife. Be cautious with the knife, always scraping away from yourself. You can wear latex gloves to protect your hands from the solvent.
Step 6: Continue peeling and scraping until all the printing is gone. If some stubborn bits remain, flip the clothing inside out again, apply more solvent, and repeat the process. If needed, you can use an iron’s heat to help loosen the remaining print.
Step 7: Wash the clothing as usual to remove any remaining solvent and chemical smells. Follow the garment’s care instructions. If any glue residue or stickiness persists, consider using an adhesive remover to clean it up.
Conclusion
Well, folks, I embarked on this shirt lettering removal journey armed with determination and a dash of DIY spirit. It was like an episode of “How to remove lettering from a shirt” with yours truly as the fearless host. With the help of some trusty tools, a bit of elbow grease, and a sprinkle of creativity, I successfully bid adieu to those unwanted letters on my shirt.
As I gazed upon my letter-free masterpiece, I couldn’t help but feel a sense of accomplishment and a hint of mischief, like a renegade fashion designer who just pulled off a secret mission. Removing lettering from a shirt turned out to be more of an art form than I initially thought. It’s all about precision, patience, and a touch of magic.
So, whether you’re freeing your shirt from outdated logos or simply indulging in a DIY fashion experiment, remember: the power to transform your wardrobe is in your hands. Go forth, fellow fashion adventurers, and let your creativity run wild!


