No products in the cart.
Blog
Mug Decorating Made Easy: A Step-By-Step DIY Guide
Mugs are more than just vessels for holding our favorite beverages; they are canvases for creativity and personal expression. Decorating your own mug is a fun and rewarding DIY project that allows you to customize your drinkware to reflect your unique style and personality. Whether you’re looking to add a pop of color to your morning coffee routine or create personalized gifts for friends and family, mug decorating offers endless possibilities.
In this comprehensive guide, we’ll walk you through the step-by-step process of decorating mugs, from selecting the right materials to mastering various decorating techniques.
Materials Needed
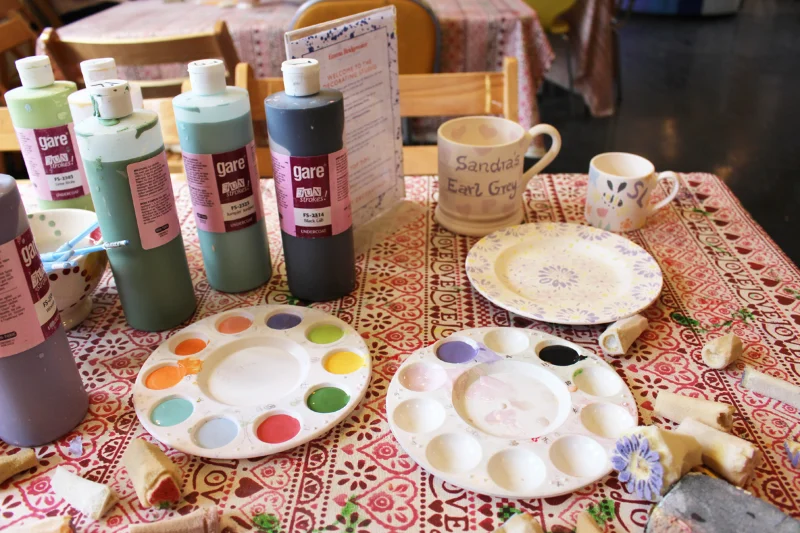
Before diving into the decorating process, it’s essential to gather all the necessary materials. Here’s what you’ll need:
- Plain ceramic mugs: Start with clean, plain ceramic mugs free of any cracks or imperfections. White mugs are ideal for showcasing vibrant designs, but you can also choose colored mugs for a different look.
- Permanent markers or paint pens: Opt for oil-based or ceramic markers that are specifically designed for use on ceramic surfaces. These markers provide vibrant colors and durable results.
- Stencils (optional): Stencils can help you achieve precise designs and patterns on your mugs. Choose stencils in various shapes and sizes to suit your preferences.
- Painter’s tape (optional): Painter’s tape can be used to create clean lines and borders on your mugs, preventing colors from bleeding into each other.
- Paintbrushes (if using paint): If you prefer painting your designs rather than using markers, have a selection of small paintbrushes on hand.
- Sealant (optional): To protect your designs and ensure longevity, consider applying a sealant specifically formulated for use on ceramics.
Easy Steps To Decorate Mugs
Step 1: Prepare Your Workspace
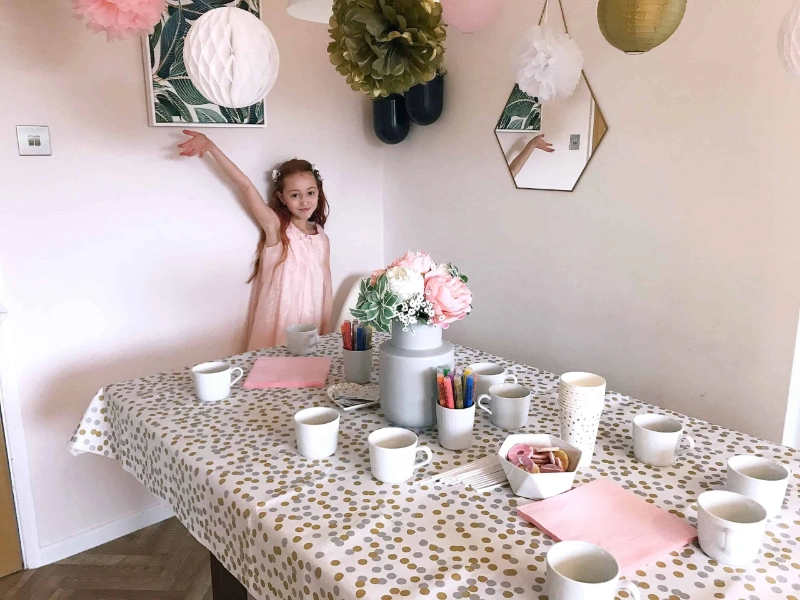
Before getting started, set up a clean and well-lit workspace with plenty of ventilation. Lay down newspaper or a protective covering to catch any drips or spills. Ensure that your mugs are clean and free of any dust or debris that could interfere with the decorating process.
Step 2: Choose Your Design
Decide on the design or pattern you want to create on your mug. Whether you opt for simple geometric shapes, intricate illustrations, or personalized messages, the possibilities are endless. Sketch out your design on paper beforehand to help visualize the final result.
Step 3: Transfer Your Design (if using stencils)
If you’re using stencils to create your design, carefully position the stencil on the surface of the mug and secure it in place with painter’s tape. Use a pencil to lightly trace around the edges of the stencil, transferring the design onto the mug.
Step 4: Start Decorating
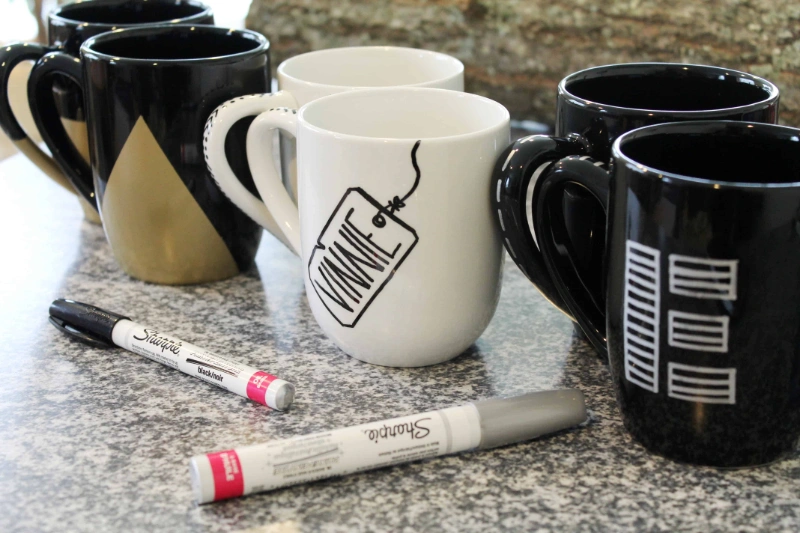
Now comes the fun part – decorating your mug! If you’re using permanent markers or paint pens, carefully trace over your design with steady, even strokes. Take your time and work slowly to ensure precision and avoid mistakes. If you’re using paint, use small paintbrushes to fill in your design with your chosen colors. Allow each color to dry completely before adding additional layers or details.
When using markers or paint pens, it’s essential to apply consistent pressure to achieve an even flow of ink or paint. Experiment with different stroke techniques, such as stippling, cross-hatching, or blending, to create unique effects and textures. Don’t be afraid to make mistakes – part of the beauty of DIY mug decorating is the opportunity to experiment and express yourself creatively.
Step 5: Add Details and Accents
Once the main design is complete, you can add additional details and accents to enhance the overall look of your mug. Experiment with different colors, patterns, and textures to add depth and visual interest to your design. If you’re feeling adventurous, you can even try your hand at freehand drawing or lettering.
For intricate designs or small details, consider using fine-tipped markers or paint pens for precision. Take your time and work carefully to ensure clean lines and accurate placement of your accents. If you’re using stencils, you can use multiple stencils to layer different elements of your design, creating a dynamic and multi-dimensional effect.
Step 6: Let Your Mug Dry
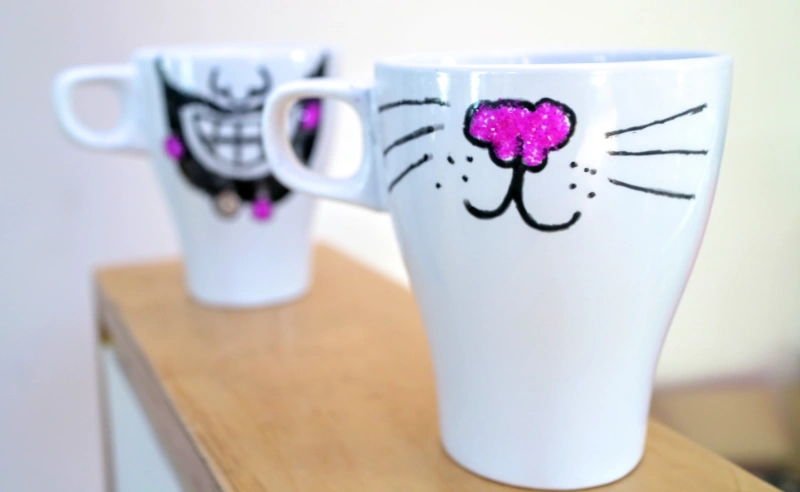
Allow your decorated mug to dry completely before handling or using it. Depending on the type of markers or paint you used, this may take several hours or overnight. Avoid placing the mug in direct sunlight or exposing it to moisture until the design is fully cured.
To prevent smudging or smearing, it’s essential to handle your mug with care while it’s drying. Avoid touching the decorated areas and place the mug on a flat surface where it won’t be disturbed. If you’re short on time, you can use a hairdryer set to a low heat setting to speed up the drying process, but be careful not to overheat the mug.
Step 7: Seal Your Design (optional)
For added protection and durability, consider sealing your design with a ceramic sealant. Apply a thin, even coat of sealant over the entire surface of the mug, paying special attention to the decorated areas. Follow the manufacturer’s instructions for curing and drying times to ensure optimal results.
Sealing your design not only protects it from scratches and fading but also makes your mug safe for everyday use. Be sure to choose a sealant that is food-safe and dishwasher-safe for peace of mind. Once the sealant has dried completely, your mug is ready to withstand countless trips through the dishwasher and microwave without losing its vibrant colors or intricate details.
Step 8: Enjoy Your Customized Mug

Once your mug is dry and sealed, it’s ready to use and enjoy! Pour your favorite beverage, whether it’s coffee, tea, or hot chocolate, and savor the satisfaction of drinking from a mug that you decorated yourself. Share your creations with friends and family or keep them as cherished keepsakes.
As you use your custom-decorated mug, you may notice minor wear and tear over time, especially if it’s subjected to frequent washing and handling. To prolong the life of your design, avoid using abrasive sponges or harsh cleaning agents when washing your mug, and always handle it with care.
Conclusion
Decorating your own mugs is a fun and creative way to add a personal touch to your drinkware collection. With just a few simple materials and a bit of imagination, you can transform plain ceramic mugs into unique works of art that reflect your individual style and personality. Whether you’re a seasoned crafter or a DIY novice, mug decorating is an accessible and enjoyable activity for all ages.
So gather your supplies, unleash your creativity, and start decorating your own custom mugs today! Whether you’re making a mug for yourself or creating thoughtful gifts for loved ones, the possibilities are endless. With each sip, you’ll be reminded of the time and effort you put into creating something truly special. Cheers to creativity and happy crafting!


