No products in the cart.
Blog
How To Fix A Chipped Mug In A Few Easy Steps
Ceramic mugs are cherished for their durability and charm, yet the occasional chip, crack, or broken handle can occur, leaving you wondering if your favorite mug is destined for the trash. Fear not! Repairing a chipped mug is simpler than you might imagine. With the right tools and techniques, you can easily mend your beloved mug and restore it to its former glory. In this extensive guide, we’ll delve into the step-by-step process of fixing various mug mishaps, from minor chips to major cracks, so you can savor your morning coffee without worry.
Why Do Ceramic Mugs Crack, Chip, or Break?
Before diving into the repair process, it’s essential to understand why ceramic mugs suffer from damage:
Thermal Shock
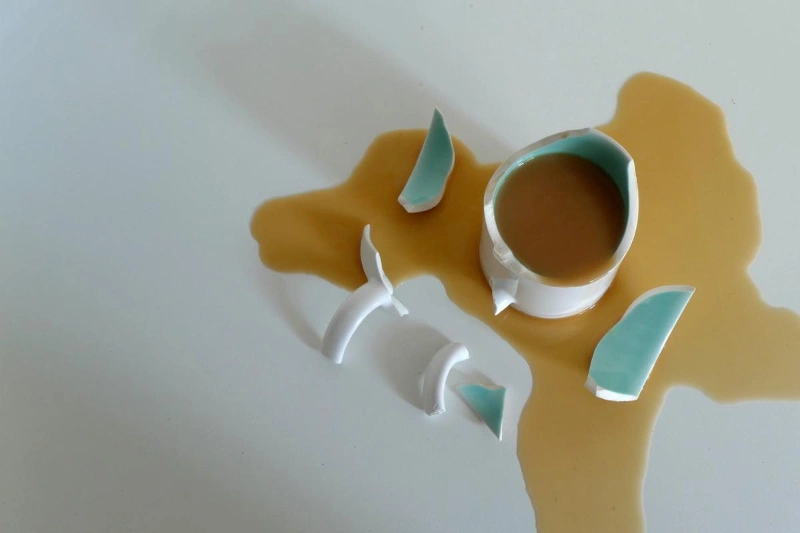
Ceramic materials, though sturdy and versatile, have a unique vulnerability to sudden changes in temperature. This phenomenon, known as thermal shock, occurs when the material expands or contracts rapidly due to extreme temperature differentials.
When hot liquid is poured into a cold ceramic mug or when a hot mug is exposed to a sudden splash of cold water, the rapid expansion or contraction of the ceramic can create internal stress. This stress, if not properly managed, leads to the formation of cracks, compromising the integrity of the mug. The microscopic pores and imperfections in the ceramic structure exacerbate this vulnerability, providing convenient sites for cracks to initiate and propagate.
Physical Impact
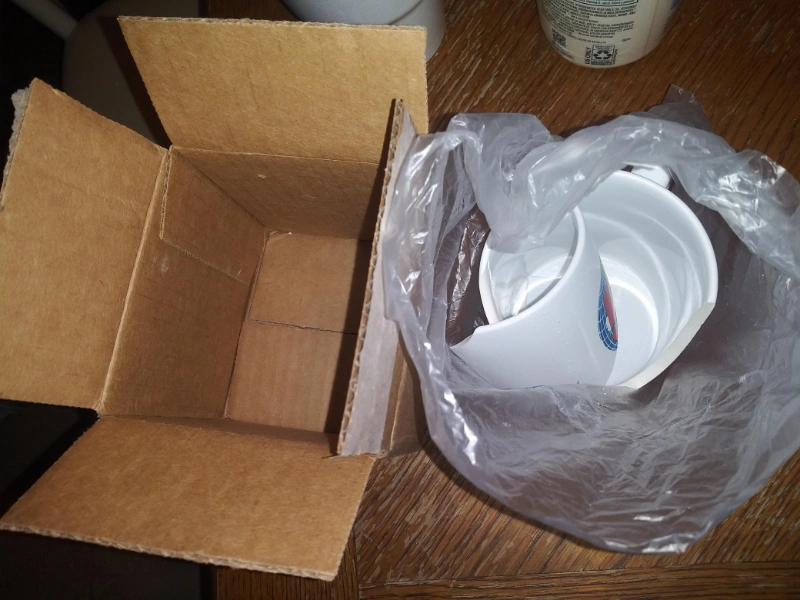
Despite their robust appearance, ceramic mugs are susceptible to the laws of physics. Dropping or knocking a ceramic mug against a hard surface subjects it to sudden forces and pressure points that can exceed its structural capacity. The impact energy generated in such scenarios can manifest in various forms of damage, ranging from minor chips to catastrophic fractures.
The severity of the damage often depends on factors such as the height of the fall, the angle of impact, and the strength of the ceramic composition. Even a seemingly innocuous tumble from a countertop can have devastating consequences for a ceramic mug, leaving behind visible scars that mar its once flawless surface.
Poor Quality or Craftsmanship
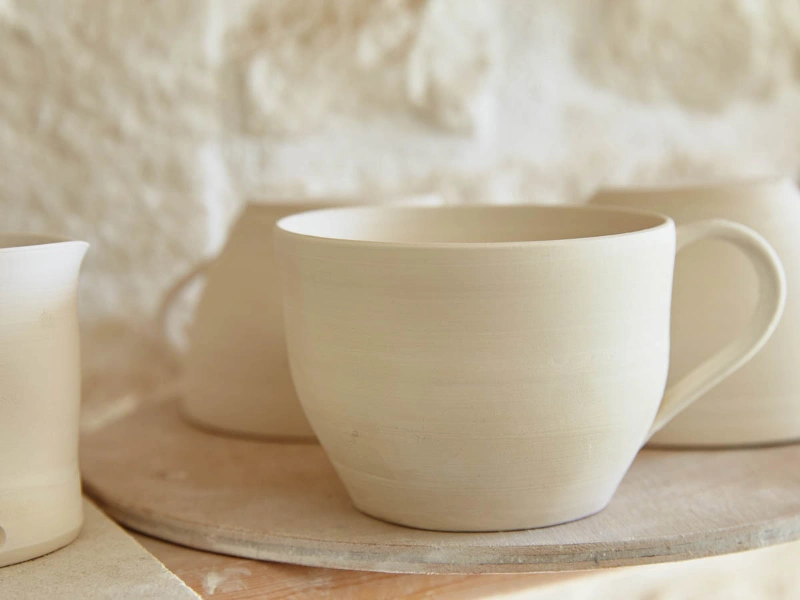
Not all ceramic mugs are created equal. Mugs manufactured from subpar materials or afflicted with manufacturing defects are inherently more prone to failure. Inferior clay compositions, inconsistent firing processes, or inadequate glazing techniques can compromise the structural integrity of the mug, making it susceptible to premature damage.
Manufacturing flaws such as air bubbles trapped within the ceramic matrix or uneven distribution of glaze can create weak points that serve as breeding grounds for cracks and fractures. Furthermore, shortcuts taken during the production process, such as insufficient kiln firing times or hasty cooling procedures, can result in compromised durability and increased susceptibility to damage.
Wear and Tear
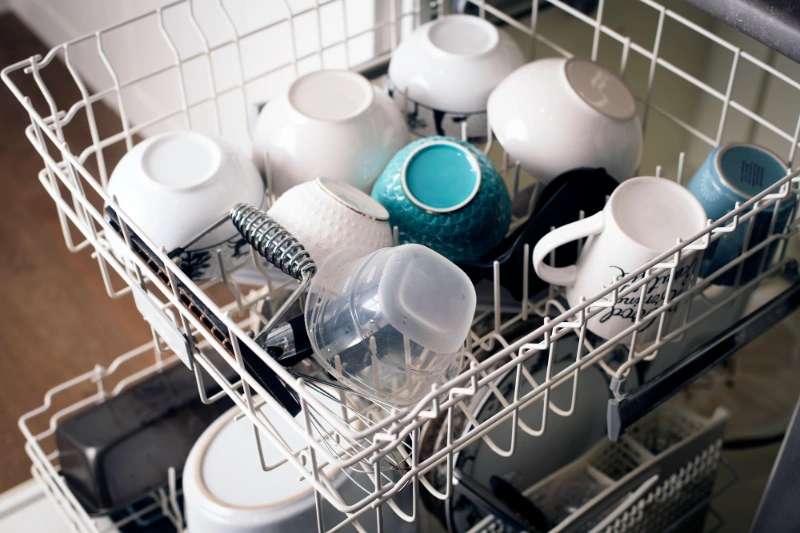
Like all objects subjected to regular use, ceramic mugs undergo gradual wear and tear over time. Each sip of steaming coffee, each cycle in the dishwasher, and each encounter with abrasive cleaning tools exacts a toll on the mug’s structural integrity. The repeated thermal cycling, mechanical stress, and chemical exposure weaken the ceramic matrix, making it increasingly susceptible to chipping, cracking, or outright breakage.
Surface imperfections accumulate with each use, providing pathways for cracks to propagate and compromising the mug’s ability to withstand further stress. Eventually, the cumulative effects of wear and tear reach a tipping point, signaling the end of the mug’s serviceable life unless prompt intervention is undertaken.
Now that we understand the causes, let’s explore how to mend these common mug maladies.
How to Fix a Broken Mug Handle or Broken Mug?
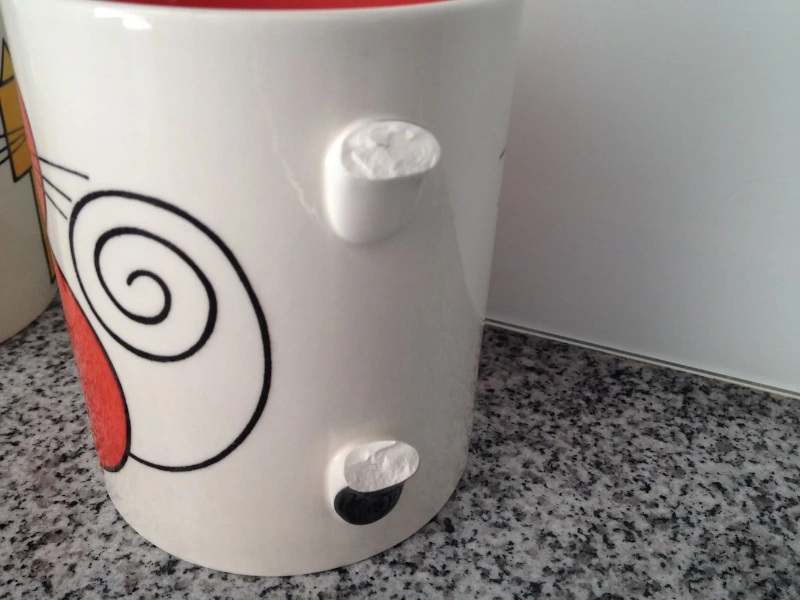
Required Tools
- Two-part epoxy adhesive: Opt for a high-quality adhesive designed for bonding ceramics.
- Sandpaper: Choose fine-grit sandpaper to smooth out rough edges after the repair.
- Rubbing alcohol: Use alcohol to clean the broken edges of the mug for better adhesion.
- Disposable gloves: Protect your hands from the adhesive.
- Clamps (if needed): For additional support when reattaching the handle.
- Optional: decorative ceramic filler: To conceal any imperfections and enhance the mug’s appearance.
Step-by-Step Guide
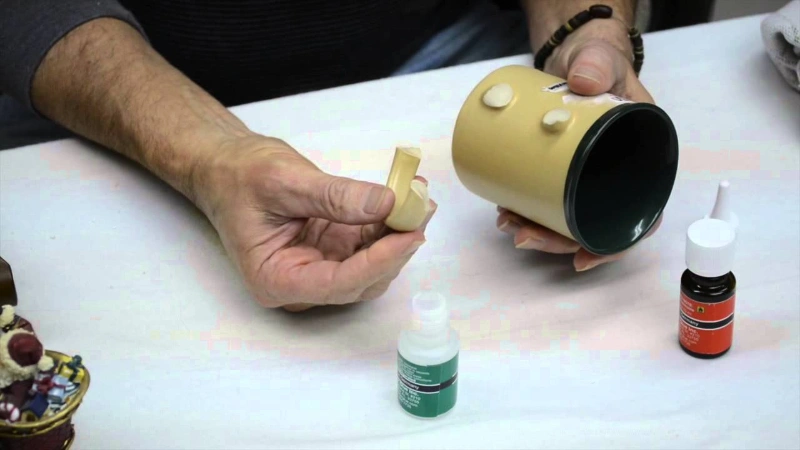
Step 1: Prepare the Surfaces: Begin by cleaning the broken edges of both the mug handle and body with rubbing alcohol. This step removes any dirt, grease, or residue that could hinder the adhesive’s bonding ability.
Step 2: Apply the Adhesive: Dispense a small amount of the two-part epoxy adhesive onto a disposable surface, such as a piece of cardboard. Use a toothpick or small brush to apply the adhesive evenly to both broken surfaces. Be sure to cover the entire area that will be bonded.
Step 3: Reattach the Handle: Carefully align the broken pieces of the handle with the corresponding edges of the mug body. Press them together firmly, ensuring a tight fit. Hold the pieces in place for a few minutes to allow the adhesive to begin bonding.
Step 4:Secure with Clamps (if necessary): If the handle requires additional support, use clamps to hold it firmly against the mug body while the adhesive sets. Position the clamps carefully to avoid causing further damage to the mug.
Step 5:Allow the Adhesive to Cure: Follow the manufacturer’s instructions for the epoxy adhesive regarding curing time. Typically, it may take several hours or overnight for the adhesive to fully cure and create a strong bond.
Step 6: Smooth Out Rough Edges: Once the adhesive has cured, use fine-grit sandpaper to gently sand any rough edges or excess adhesive around the repaired area. This step ensures a smooth finish and eliminates any sharp edges that could cause injury.
Step 7: Optional: Apply Decorative Filler: If desired, use decorative ceramic filler to fill in any gaps or imperfections in the repaired area. Choose a filler that matches the color and texture of the mug for a seamless repair.
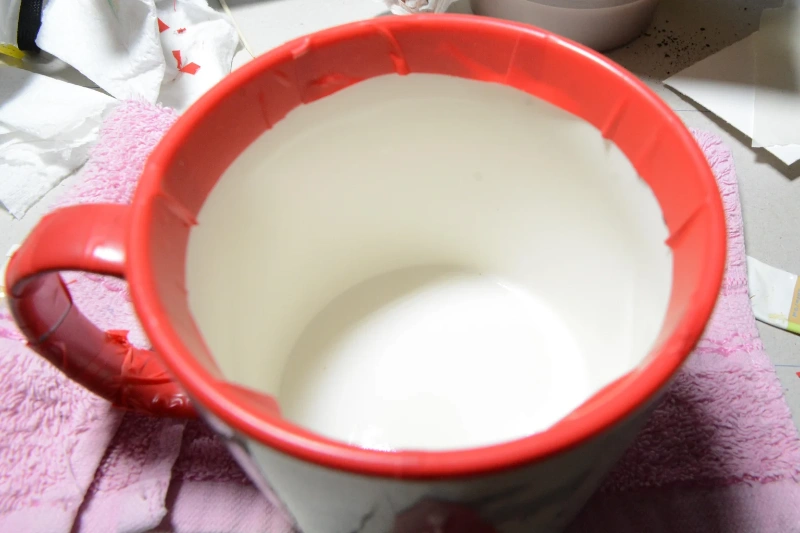
By following these steps, you can effectively repair a broken mug handle or a mug with a broken body, allowing you to continue enjoying your favorite beverages without the need for a replacement.
How to Fix a Chipped Mug?
Required Tools
- Clear nail polish or ceramic glue: Choose a transparent adhesive that dries clear for a seamless repair.
- Fine-grit sandpaper: Use sandpaper to smooth out rough edges before and after the repair.
- Cotton swabs: Ideal for applying adhesive precisely to the chipped area.
- Optional: ceramic paint: To touch up the repaired area and blend it with the rest of the mug’s surface.
Step-by-Step Guide
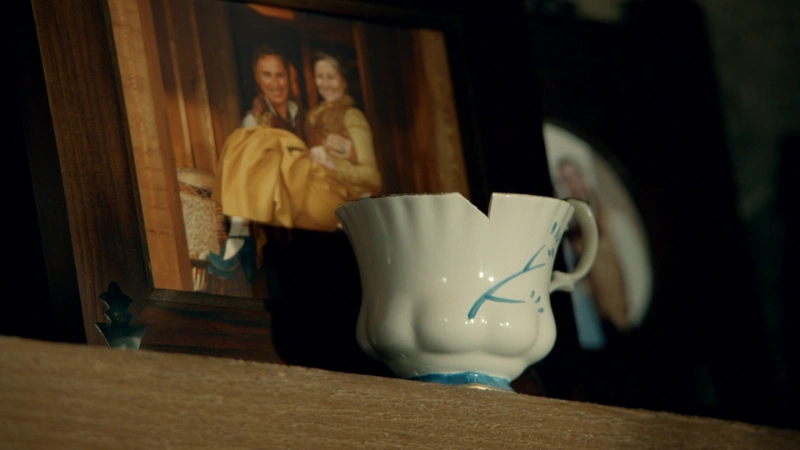
Step 1: Clean the Chipped Area: Start by washing the chipped area of the mug with soap and water. Rinse it thoroughly and allow it to dry completely before proceeding with the repair.
Step 2: Apply the Adhesive: Using a cotton swab or small brush, apply a small amount of clear nail polish or ceramic glue to the chipped area. Ensure that the adhesive fills in any gaps or cracks and creates a smooth surface.
Step 3: Smooth Out the Adhesive: After applying the adhesive, use a cotton swab or your fingertip to smooth out any excess and ensure even coverage. This step helps to blend the repaired area with the rest of the mug’s surface.
Step 4: Allow the Adhesive to Dry: Allow the adhesive to dry completely according to the manufacturer’s instructions. Depending on the type of adhesive used, this may take anywhere from a few minutes to several hours.
Step 5: Sand the Repaired Area: Once the adhesive has dried, use fine-grit sandpaper to gently sand the repaired area. This step helps to smooth out any rough edges and further blend the repair with the surrounding surface of the mug.
Step 6: Optional: Touch Up with Ceramic Paint: If the repaired area is still noticeable, you can use ceramic paint to touch it up and match it to the rest of the mug’s surface. Choose a paint color that closely matches the original color of the mug for a seamless finish.
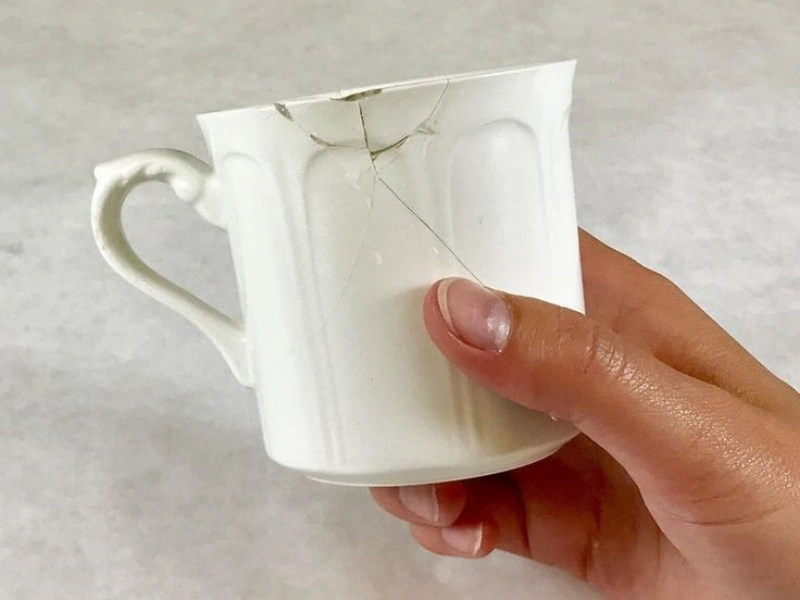
By following these steps, you can effectively repair a chipped mug and prevent further damage, allowing you to continue enjoying your favorite beverages with confidence.
How to Fix a Crack Mug?
Required Tools
- Epoxy resin or ceramic epoxy filler: Opt for a high-quality adhesive specifically designed for repairing ceramics.
- Paintbrush: Use a small paintbrush to apply the adhesive evenly along the crack.
- Clamps (if needed): For additional support when bonding the cracked area.
- Sandpaper: Choose fine-grit sandpaper to smooth out rough edges after the repair.
- Optional: ceramic paint: To touch up the repaired area and conceal any visible cracks.
Step-by-Step Guide
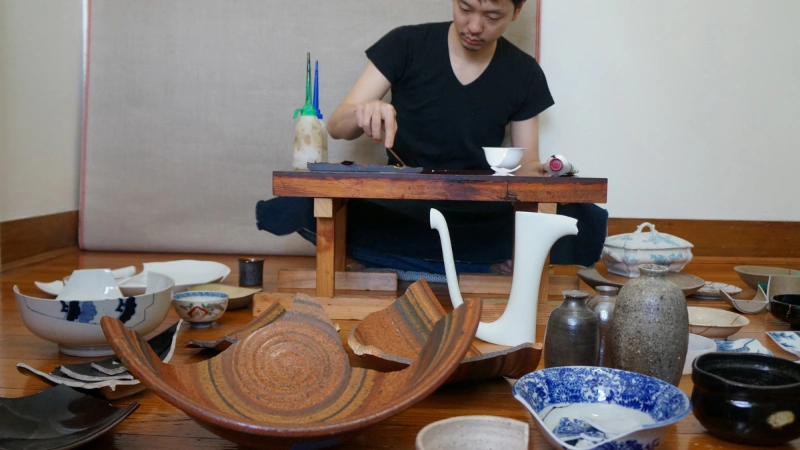
Step 1: Clean the Cracked Area: Thoroughly clean the cracked area of the mug with soap and water to remove any dirt, grease, or residue. Rinse it well and allow it to dry completely before proceeding.
Step 2: Prepare the Adhesive: If using epoxy resin, mix the two parts according to the manufacturer’s instructions until thoroughly combined. Ensure that the mixture is uniform and free of lumps before applying it to the crack.
Step 3: Apply the Adhesive: Using a small paintbrush, apply a generous amount of epoxy resin or ceramic epoxy filler to the crack in the mug. Ensure that the adhesive penetrates into the crevices and creates a strong bond between the cracked surfaces.
Step 4: Secure with Clamps (if necessary): If the crack is large or extends through the thickness of the mug, use clamps to hold the cracked area together while the adhesive sets. Position the clamps carefully to avoid putting too much pressure on the mug.
Step 5: Allow the Adhesive to Cure: Follow the manufacturer’s instructions for the epoxy adhesive regarding curing time. Depending on the type of adhesive used, it may take several hours or overnight for the bond to fully set and cure.
Step 6: Smooth Out Rough Edges: Once the adhesive has cured, use fine-grit sandpaper to gently sand any rough edges or excess adhesive around the repaired area. This step helps to create a smooth finish and blend the repair with the rest of the mug’s surface.
Step 7: Optional: Touch Up with Ceramic Paint: If the repaired area is still visible, you can use ceramic paint to touch it up and conceal any remaining cracks or imperfections. Choose a paint color that matches the original color of the mug for a seamless repair.
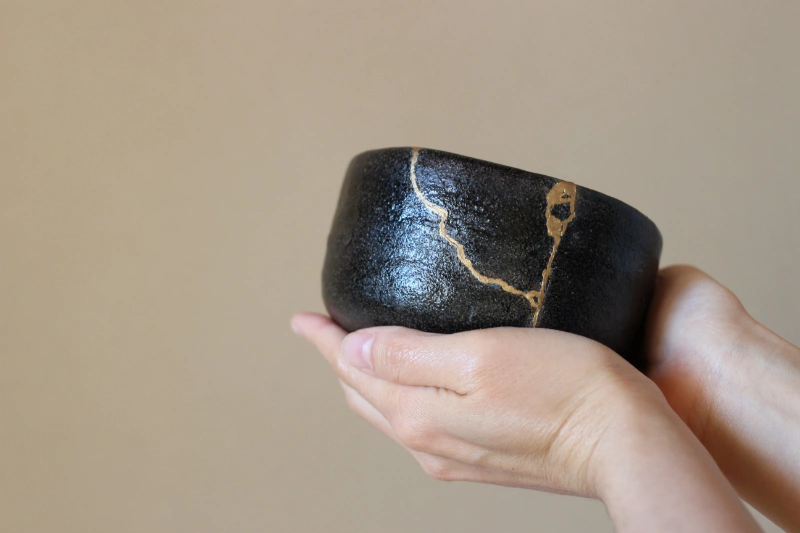
By following these steps, you can effectively repair a cracked mug and extend its lifespan, allowing you to continue enjoying your favorite beverages with peace of mind.
FAQs
Q: Can I use superglue to repair a chipped mug?
A: While superglue can provide a temporary fix for minor chips, it may not create a durable or long-lasting bond like epoxy adhesive or ceramic glue.
Q: Is it safe to drink from a repaired mug?
A: As long as you use food-safe adhesives and follow proper repair techniques, it should be safe to drink from a repaired mug. However, it’s always a good idea to inspect the mug for any signs of damage before using it to ensure your safety.
Conclusion
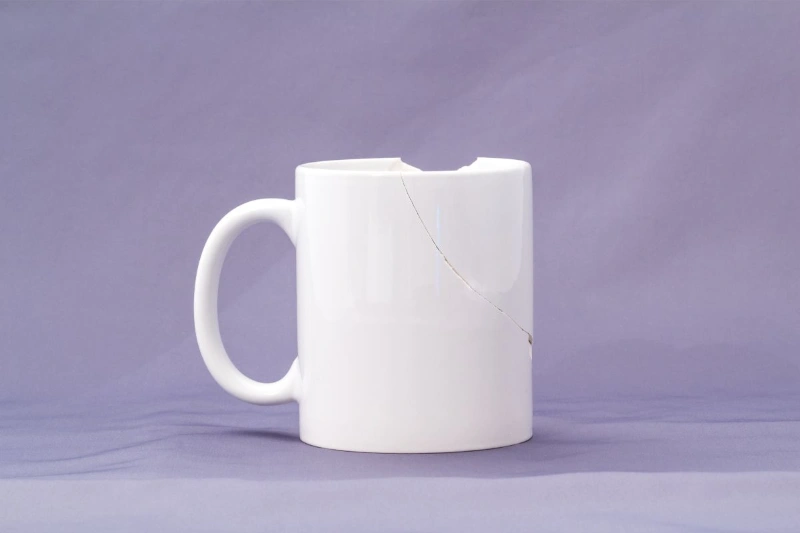
Repairing a chipped, cracked, or broken mug is a simple yet rewarding process that can save you from the hassle of replacing your favorite drinkware. By following the detailed steps outlined in this guide and using the right tools and materials, you can effectively mend your mug and continue enjoying your favorite beverages with confidence. Remember to handle repaired mugs with care and avoid subjecting them to extreme temperature changes or rough handling to prevent further damage. With a little effort and know-how, you can keep your cherished mugs in pristine condition for years to come.


