No products in the cart.
Blog
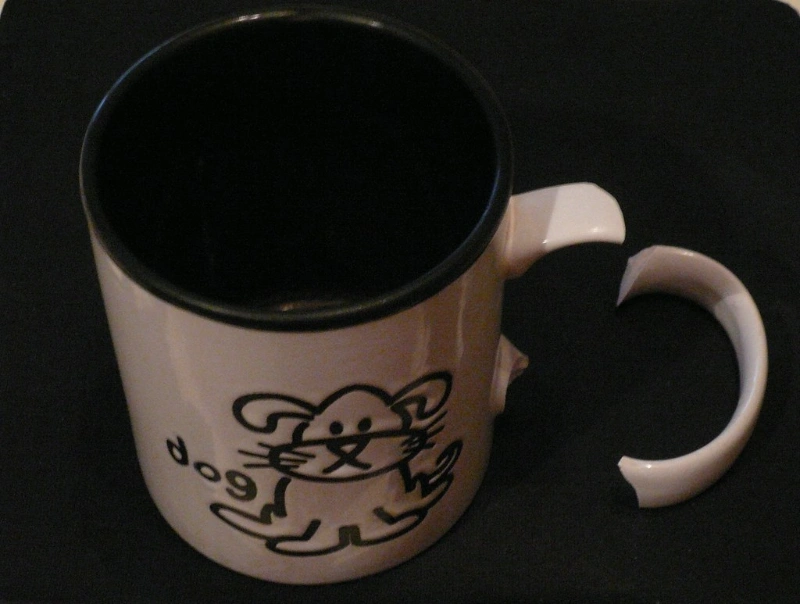
How To Fix A Broken Mug Handle: Mend It Yourself
Fixing a broken mug handle might seem like a minor task, but it’s a practical skill that saves your favorite mug from ending up in a landfill, thus contributing to waste reduction. In this article, we’ll guide you through the steps to securely and neatly reattach a broken mug handle. Whether the break is clean or jagged, we will cover the best adhesives to use, preparation techniques, and how to ensure a clean, durable bond. By the end of this how to fix a broken mug handle guide, you’ll be equipped with the knowledge to not only restore your mug to its former glory but also extend its life, blending functionality with an eco-friendly approach.
How To Fix A Broken Mug Handle?
This guide will walk you through three different methods to repair a broken mug handle: using super glue, using wire or twine, and using a soldering method. Each technique has its own materials, instructions, and tips for success.
Using Super Glue
Materials Needed:
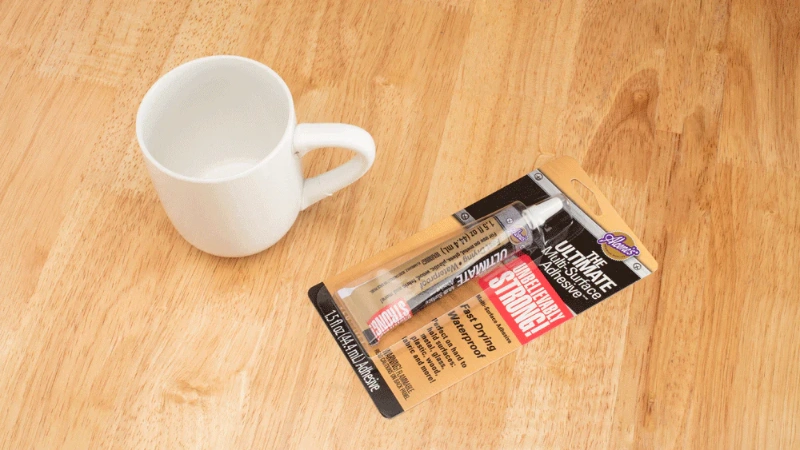
- High-quality super glue (cyanoacrylate adhesive)
- Fine sandpaper or an emery board
- Toothpicks or a fine brush
- Disposable gloves
- Clean cloth
Instructions:
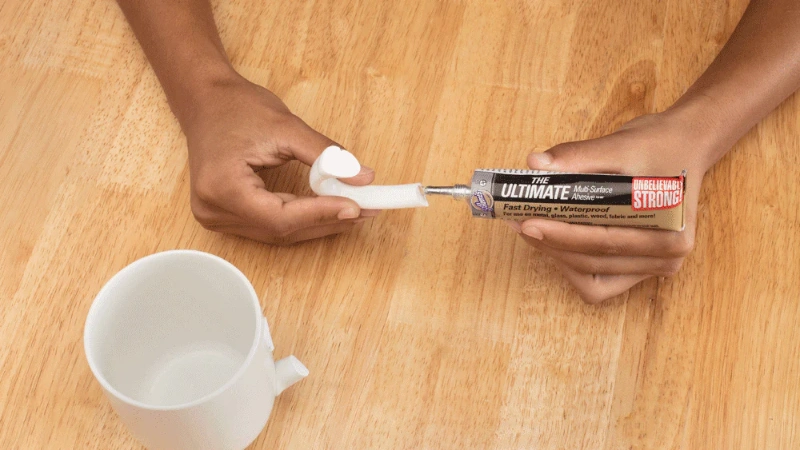
- Prepare the Surface: Begin by ensuring that both the broken pieces of the mug handle and the area on the mug where the handle attaches are clean and dry. Use the sandpaper to gently roughen the surfaces to enhance the glue’s grip.
- Apply the Glue: Wearing gloves to avoid skin contact, apply a small amount of super glue to one of the broken edges using a toothpick or fine brush for precision. Avoid using too much glue, which can weaken the bond or create a mess.
- Attach the Handle: Carefully align the broken handle piece to the mug and press firmly for 30-60 seconds. Ensure the handle is correctly aligned as super glue dries quickly.
- Wipe Off Excess: If any glue oozes out, gently wipe it off with a clean cloth before it dries.
- Cure Time: Allow the glue to cure for at least 24 hours before handling the mug. Follow the glue manufacturer’s recommendations for full curing times.
Tips for Success:
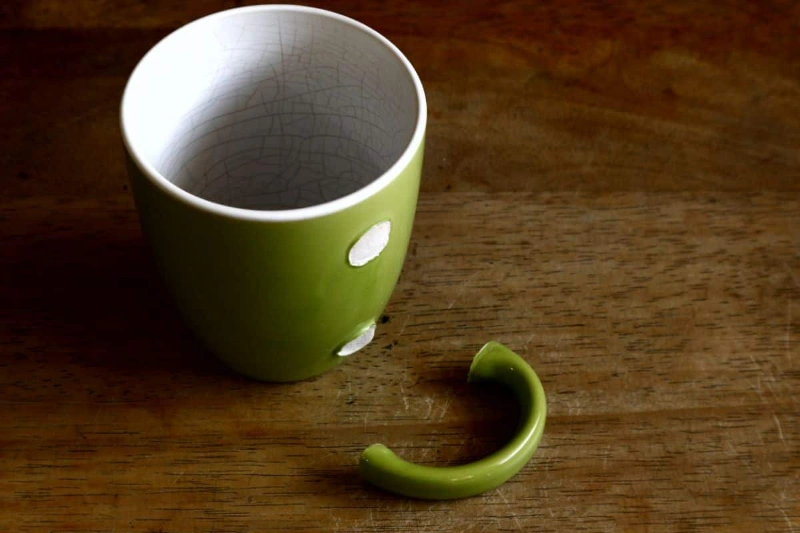
- Opt for a gel-based super glue as it provides a thicker consistency that is easier to control and reduces dripping.
- If the break is very clean, consider practicing fitting the pieces together before applying the glue.
- Ensure the room is well-ventilated to avoid inhaling fumes from the super glue.
Using Wire or Twine
Materials Needed:
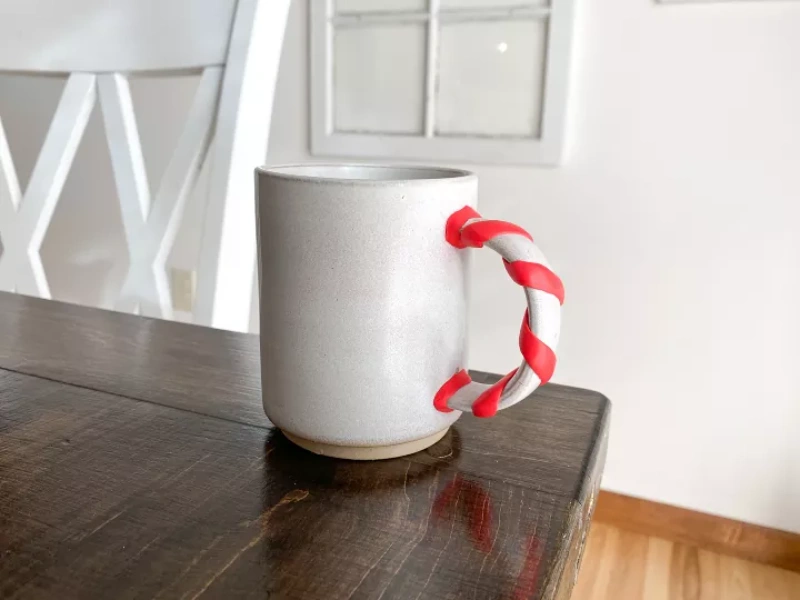
- Thin gauge wire or strong twine
- Drill with a small drill bit
- Clear epoxy or a strong adhesive
- Disposable gloves
- Clean cloth
Instructions:
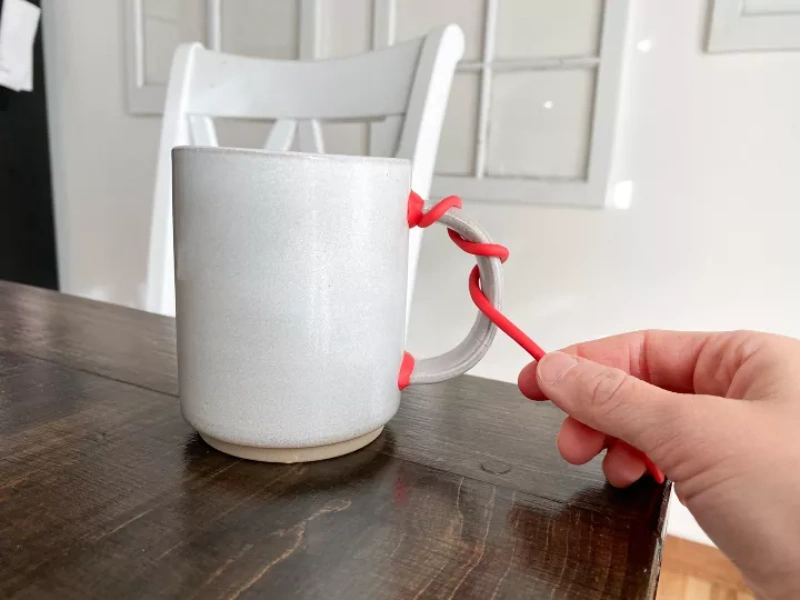
- Drill Holes: Carefully drill small holes into both the broken handle and the mug’s body where the handle attaches. The holes should be big enough for the wire or twine but small enough to maintain the integrity of the ceramic.
- Thread the Wire/Twine: Cut a length of wire or twine. Thread it through the holes to loop around both the broken handle piece and the main body of the mug.
- Secure the Handle: Twist or tie the wire or twine firmly to hold the pieces together. Be careful not to over-tighten, as this can cause further damage.
- Apply Adhesive: For additional strength, apply clear epoxy over the wire or twine and on any exposed edges where the ceramic meets. This will help seal and reinforce the bond.
- Cure Time: Allow the adhesive to dry and cure according to the manufacturer’s instructions, typically 24 hours.
Tips for Success:
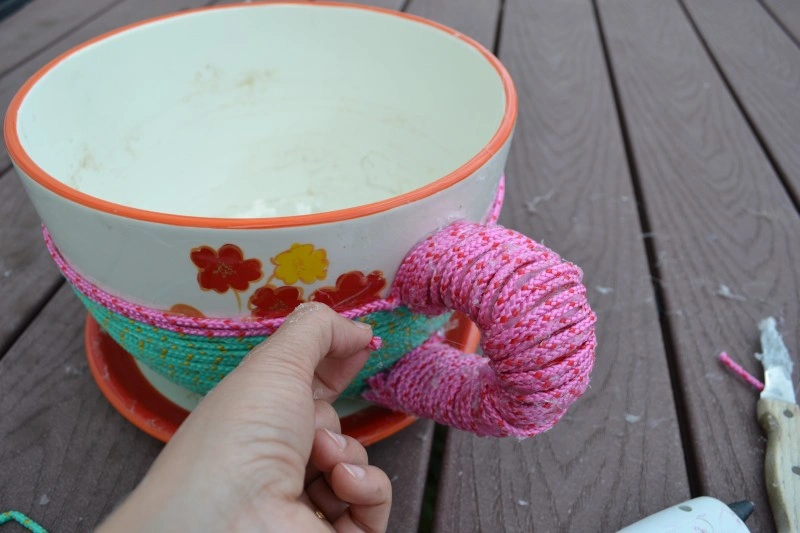
- Use nylon twine or stainless steel wire for better durability and water resistance.
- Be cautious while drilling to prevent further cracking. Start with a smaller bit and gradually increase to the desired hole size.
- Masking around the drilling area can help prevent slipping and surface damage.
Using a Soldering Method
Materials Needed:
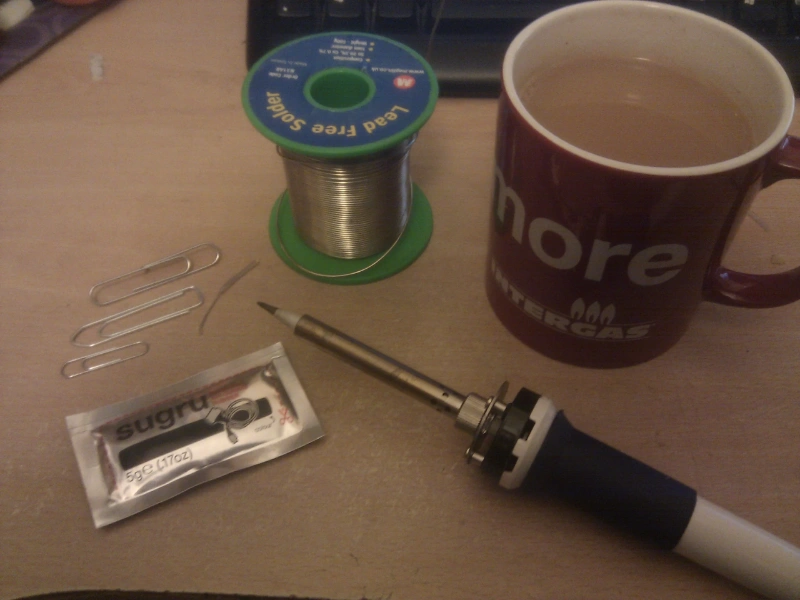
- Silver solder
- Flux
- Soldering iron
- Heat-resistant gloves
- Safety goggles
- Clean cloth
Instructions:
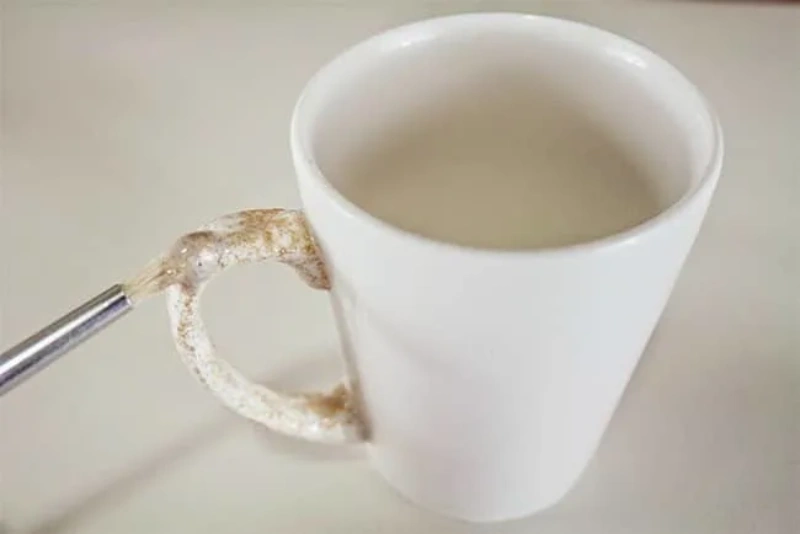
- Prepare the Pieces: Clean the broken edges of the mug handle and the attachment area on the mug with a cloth to ensure they are free of dust and grease.
- Apply Flux: Apply flux to both the broken edges of the handle and the attachment points on the mug.
- Heat the Solder: Heat the soldering iron. Touch the silver solder to the iron and then to the fluxed areas, allowing the solder to flow and bind the pieces.
- Join the Pieces: Quickly align and attach the handle to the mug while the solder is still molten.
- Cool Down: Let the solder solidify naturally without disturbing the mug.
Tips for Success:
- Ensure you are working in a well-ventilated area as the fumes from the solder and flux can be harmful.
- Use silver solder instead of lead-based solder for a safer, food-grade fix.
- Practice the soldering on a similar but less valued ceramic item to get a feel for the process.
How to Fix a Broken Mug?
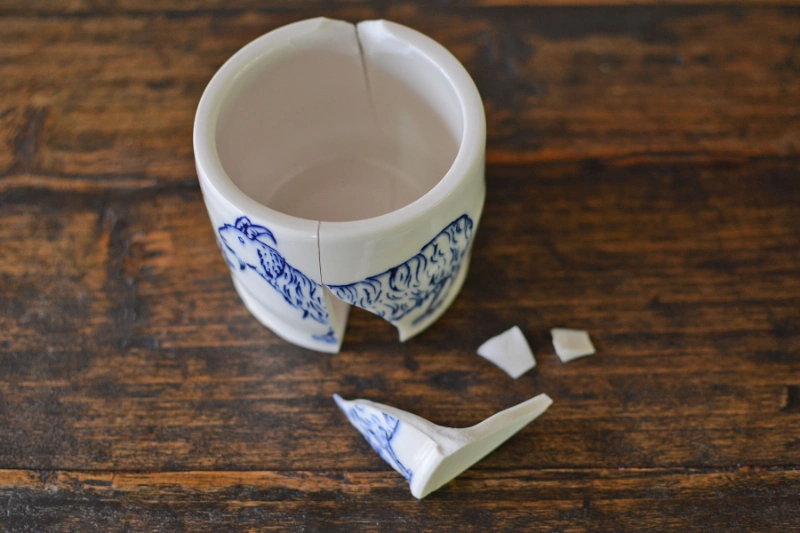
Repairing a broken mug, especially one with sentimental value, can be a worthwhile endeavor. Whether it’s a small crack or a completely detached piece, various methods can be employed to fix the mug. This section covers the general approach to fixing a broken mug beyond just the handle, ensuring a holistic restoration.
Materials Needed:
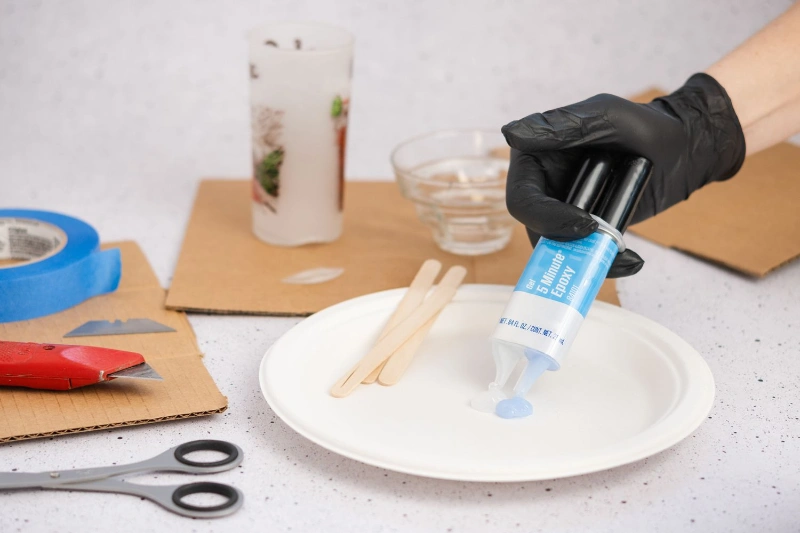
- Epoxy resin or ceramic adhesive
- Sandpaper (fine-grit)
- Paintbrushes (for applying the adhesive)
- Clamps or masking tape (for holding pieces in place)
- Acetone or alcohol wipes (for cleaning)
- Protective gloves
Instructions:
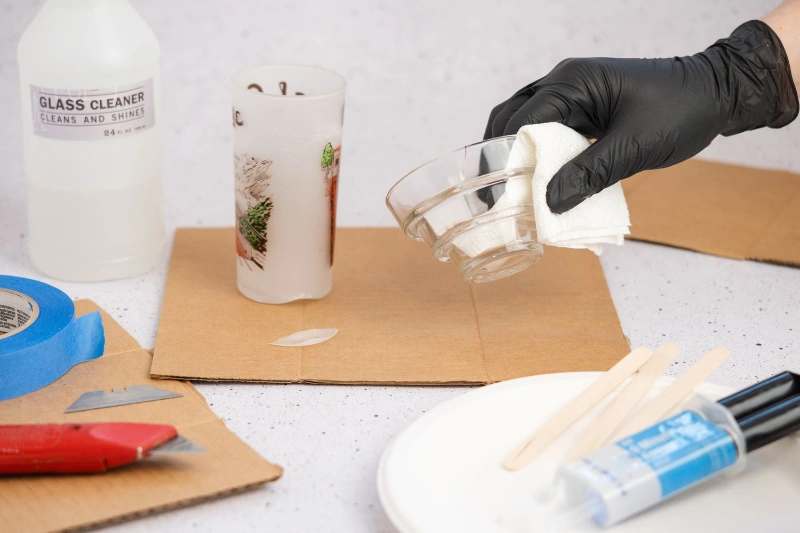
- Clean the Pieces: Start by cleaning all the broken edges of the mug with acetone or alcohol wipes to remove any dirt, grease, or old adhesive residues. This step is crucial for ensuring a strong bond.
- Sand the Edges: Use fine-grit sandpaper to slightly roughen the edges of the broken pieces. This increases the surface area for the adhesive to bond.
- Apply Adhesive: Mix the epoxy resin according to the manufacturer’s instructions. Using a small paintbrush, apply a thin layer of adhesive to one edge of the broken piece. Avoid using too much adhesive, as it can make the mug unsightly and difficult to clean up later.
- Attach the Pieces: Carefully align the broken pieces and press them together. Wipe away any excess adhesive with a damp cloth before it hardens.
- Secure the Pieces: Use clamps or apply masking tape around the mug to hold the pieces firmly in place while the adhesive cures. Follow the curing time recommended by the adhesive manufacturer, usually 24-48 hours.
- Finishing Touches: Once the adhesive has fully cured, remove any clamps or tape. If necessary, sand any rough edges where the adhesive has seeped out. You can also use a ceramic paint to touch up areas where the original color may have chipped away.
Tips for Success:
- Choose an adhesive that is specifically designed for ceramic or porcelain repair. These adhesives are usually waterproof and can withstand high temperatures, making them suitable for mugs.
- Ensure that the adhesive is fully cured before using the mug. This not only ensures strength but also safety, especially if the mug will be used for drinking.
- For mugs with extensive damage, consider using them for purposes other than drinking, such as a planter or a pencil holder, to avoid safety issues with hot beverages.
- Always handle the broken pieces with care to avoid further damage or injury from sharp edges.
Conclusion
Fixing a broken mug handle is a feasible DIY project that can extend the life of your cherished mug. Whether you choose super glue for a quick fix, wire or twine for a rustic look, or a soldering method for a durable repair, each method provides a unique approach to handle repair. With patience and careful handling, your mug can be ready to use again, bearing not just coffee but also a story of resilience and resourcefulness.


